WARDOGS Beginner's Guide — Surviving Your First Matches
Your first hours in WARDOGS: how to spend the starting $10,000, play the control zone, read the Hot Zone, and avoid the mistakes that drain new wallets.
FAQ
What should I buy with my first $10,000?
Is there a class system in WARDOGS?
How do I make money as a new player?
What happens when I die?
Should new players go to the Hot Zone?
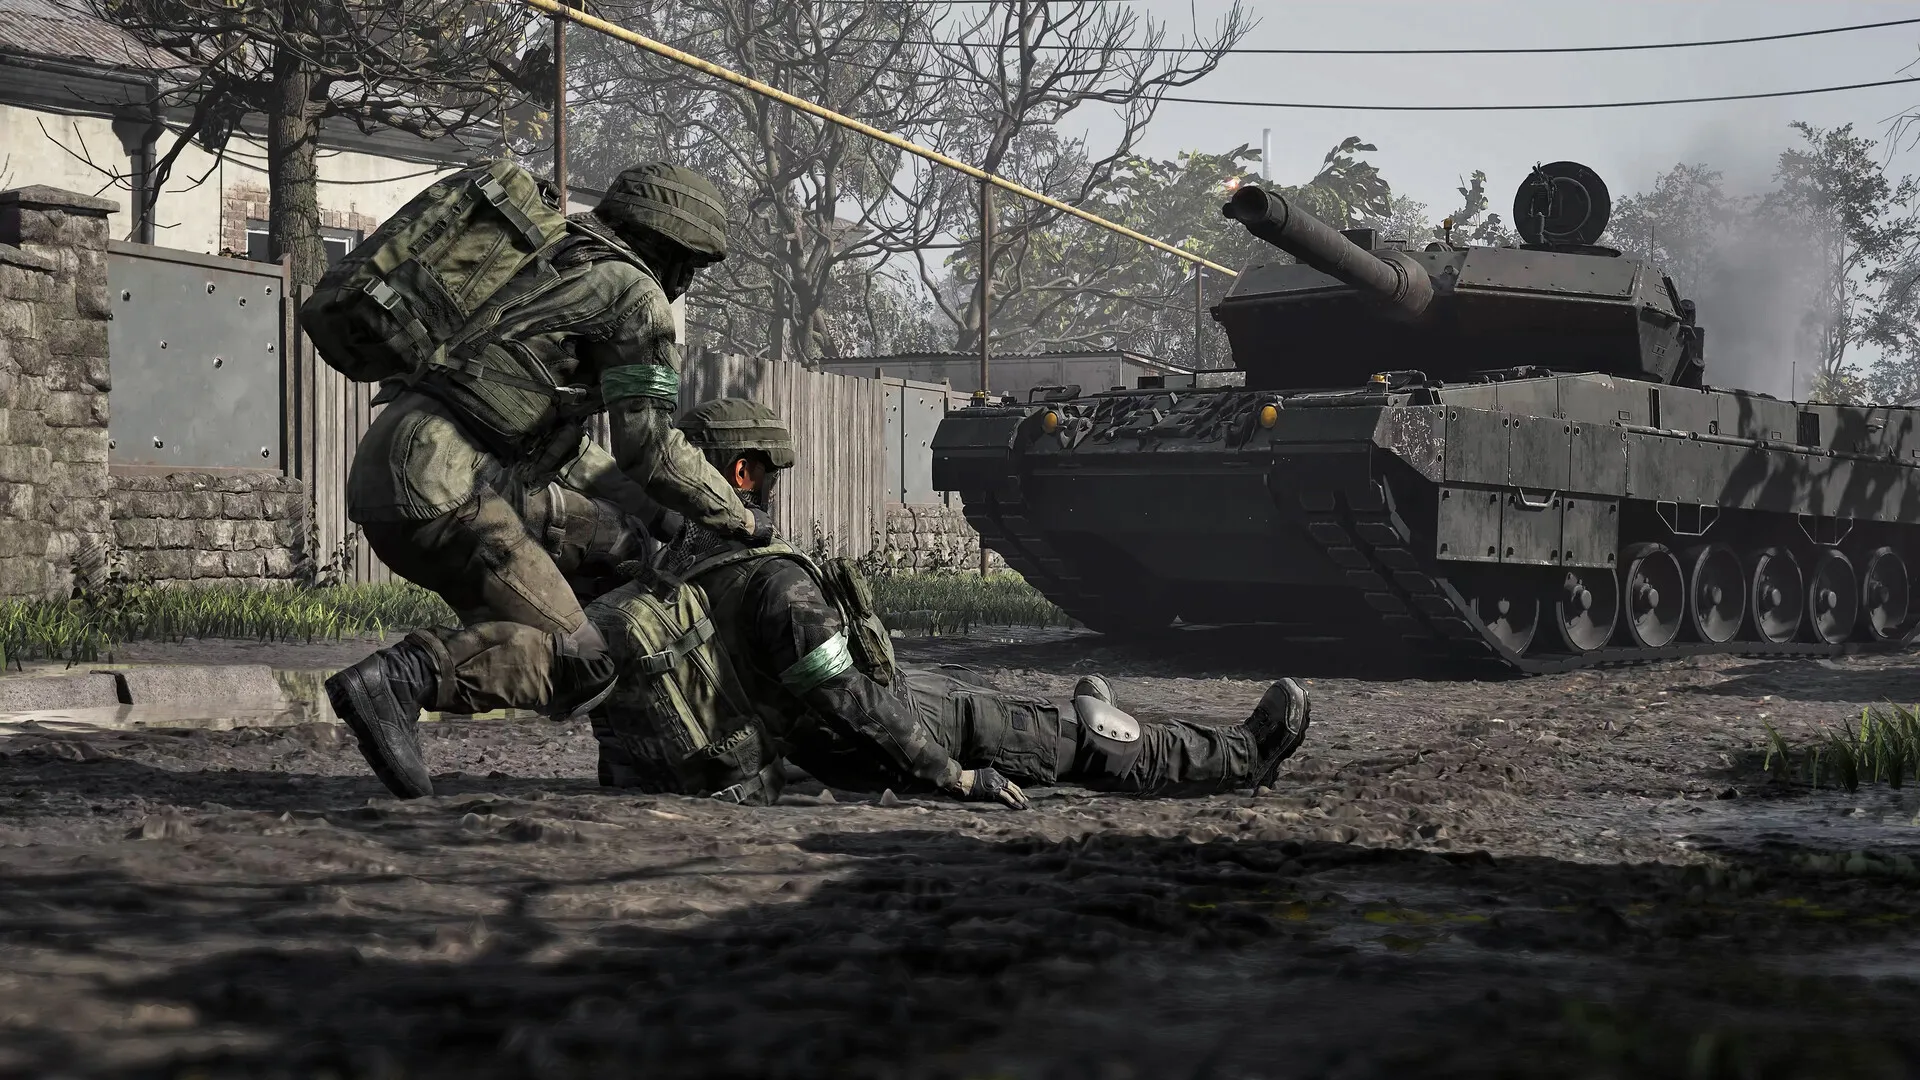
What should you do in your first match?
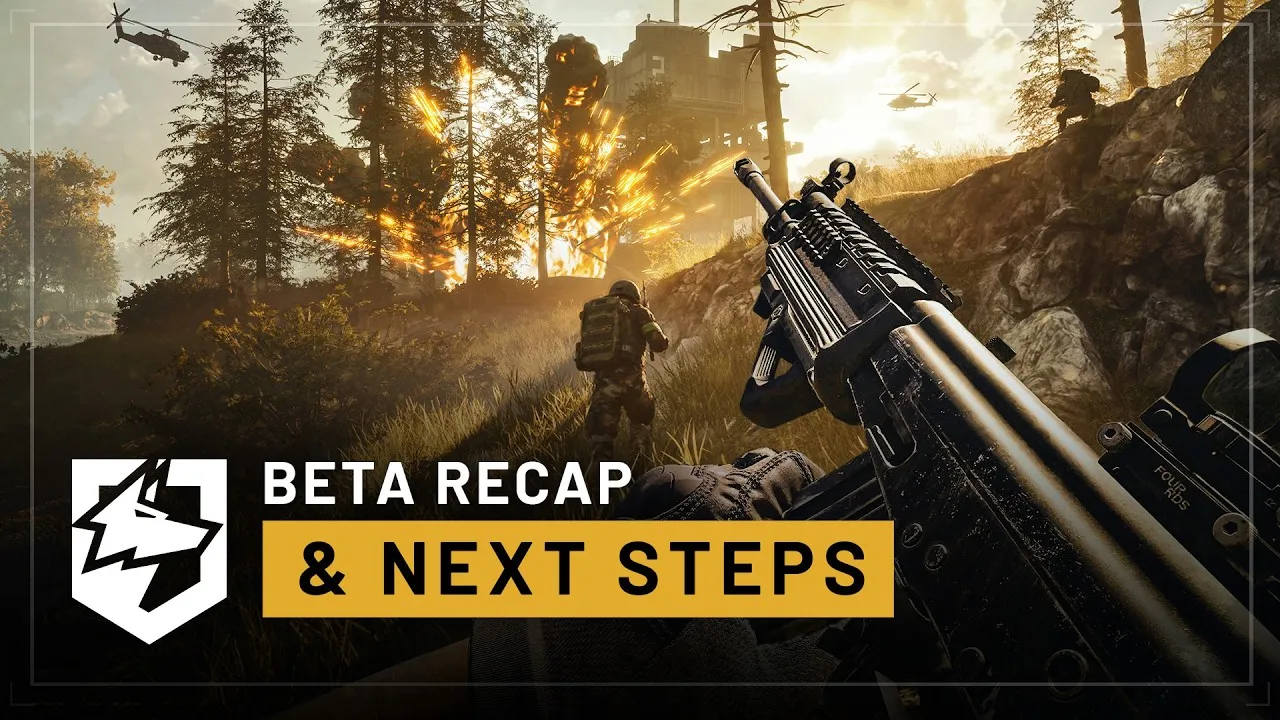
Spend two minutes in the shop, then follow your faction toward the Control Zone. Your first match is not about kills — it is about learning the loop: buy a budget loadout, walk into the Control Zone to trigger the one-off entry bonus, stay alive near teammates, and watch how money ticks in from presence and teamplay actions. Dying is instructive but expensive, so trade the hero plays for proximity to your side. For the big picture, read what WARDOGS actually is first if you have not yet.
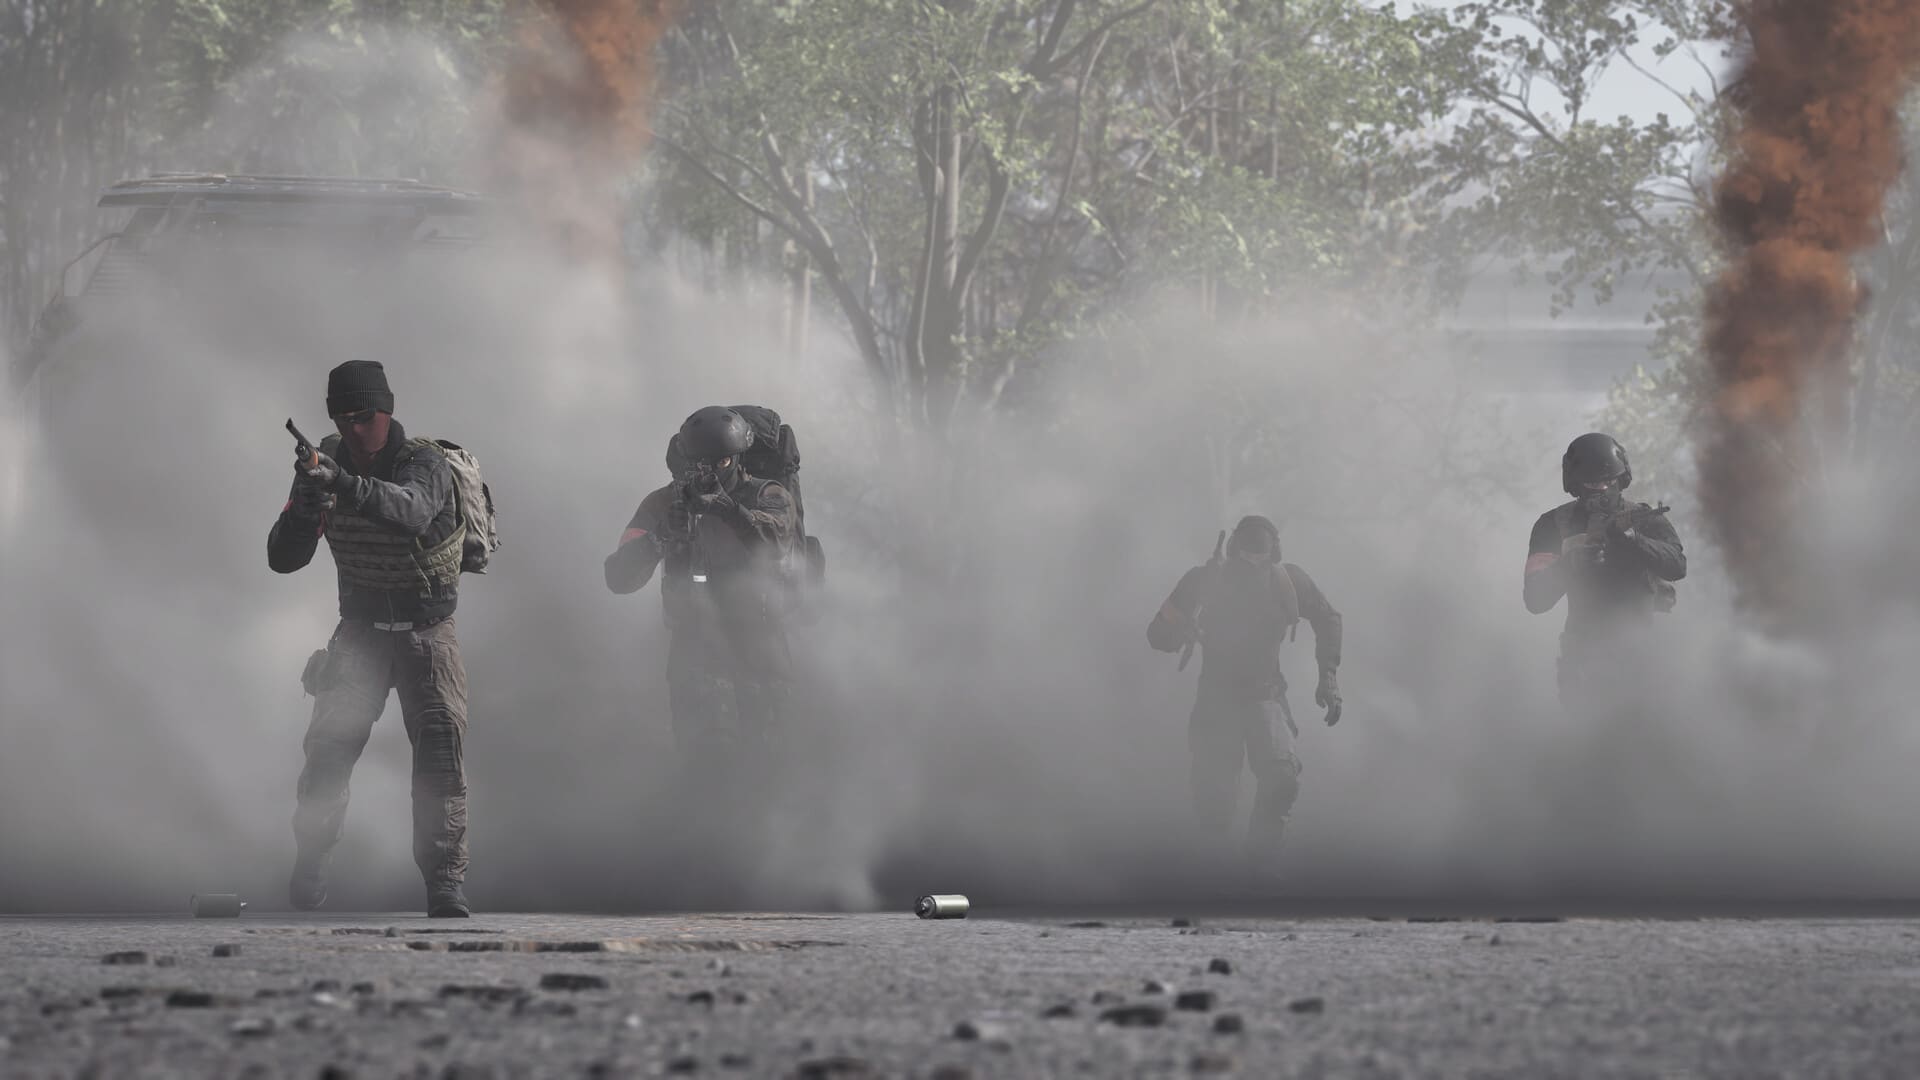 Move with your faction’s push — Image: BULKHEAD
How should you spend your first $10,000?
Less than you think. The $10,000 account seed is one-time — it never refreshes — and everything you buy is money you cannot spend later. A sensible first loadout:
- Primary weapon: an assault rifle or SMG in a common caliber. The vendor M4 runs $2,800; cheaper options feed the same fight.
- Ammunition: two or three boxes to start. Ammo is bought per caliber, from around $10 for pistol rounds to $250 for match-grade boxes.
- Armor and bandages: the difference between getting revived and getting looted.
- Nothing else yet. No launchers, no vehicles, no deployables.
The full cost picture — including why the 90% refund rule shapes every purchase — is in the money guide; once the wallet grows, the tier list’s cost-frontier shows which upgrades are actually worth paying for.
How does scoring actually work?
The faction with the most players inside the Control Zone earns points, and the first faction to 100 points wins the match. You personally contribute by being alive and inside the zone — presence is the currency of scoring, not kill count. That is why walking into the zone pays a one-off cash bonus and why standing around inside it is genuinely worth money: presence ticks cash income as well as team points. A match can run close to an hour, so pacing your respawns matters more than raw aggression.
How do you read the Hot Zone?
The Hot Zone is a moving high-value area inside the active fight. Inside it, you count as two players for capture purposes and teamplay actions pay bonus cash — which is why both the scoreboard and the money flow bend toward it. The HUD shows your live distance to the Hot Zone, so you always know which direction the match’s center of gravity is drifting.
The Kolchia map guide explains how zone randomization shapes where those fights end up landing.
Do you pick a class?
No — and this trips up players arriving from Battlefield-likes. There is no class screen. Instead, the equipment you use feeds related XP tracks: sniper rifles progress Recon, shotguns and launchers progress Support, driving progresses Driver, and so on. Higher track levels unlock better gear in the shop, and there are reported discounts for shopping at low track levels during the alpha — the weapons list has the confirmed unlock examples. Practically: use what you enjoy, because your track levels follow your habits.
How do revives and death work?
When you drop, you bleed out on a timer unless a teammate revives you. While bleeding, you can raise a revive “bribe” pot from your own wallet in $50 steps to incentivize the rescue. If you die outright, the gear bought that life refunds at roughly 90% and you redeploy through the shop. Your account wallet persists across matches, deaths, and sessions — death is expensive, never ruinous.
What are FOBs and should you build one?
Forward operating bases are player-built strongpoints — the game’s answer to fortifying a chokepoint. A FOB kit includes hammers and building supplies plus bandages, and construction is paired with destruction, so a well-placed FOB can hold a lane for a long stretch of a match. As a new player, the smarter move is helping expand or supply an existing FOB before founding your own: solo construction in contested territory is how wallets die young.
What should you learn first, in order?
- The shop: what a cheap, complete loadout costs.
- The Control Zone: entry bonus, presence income, and staying with your faction.
- The refund rule: why dying in expensive gear is a tax.
- The Hot Zone: when to push it and when to let others bleed for it.
- XP tracks: which gear feeds which unlock line.
Each of those five has a dedicated page here — money in the economy guide, the Control Zone / Hot Zone / Towers loop in the map mechanics guide, unlock mechanics in the weapons guide and the XP tracks page, the machines of war in the vehicles guide, and the three sides you will fight for in the factions guide.
Related videos

Keep reading
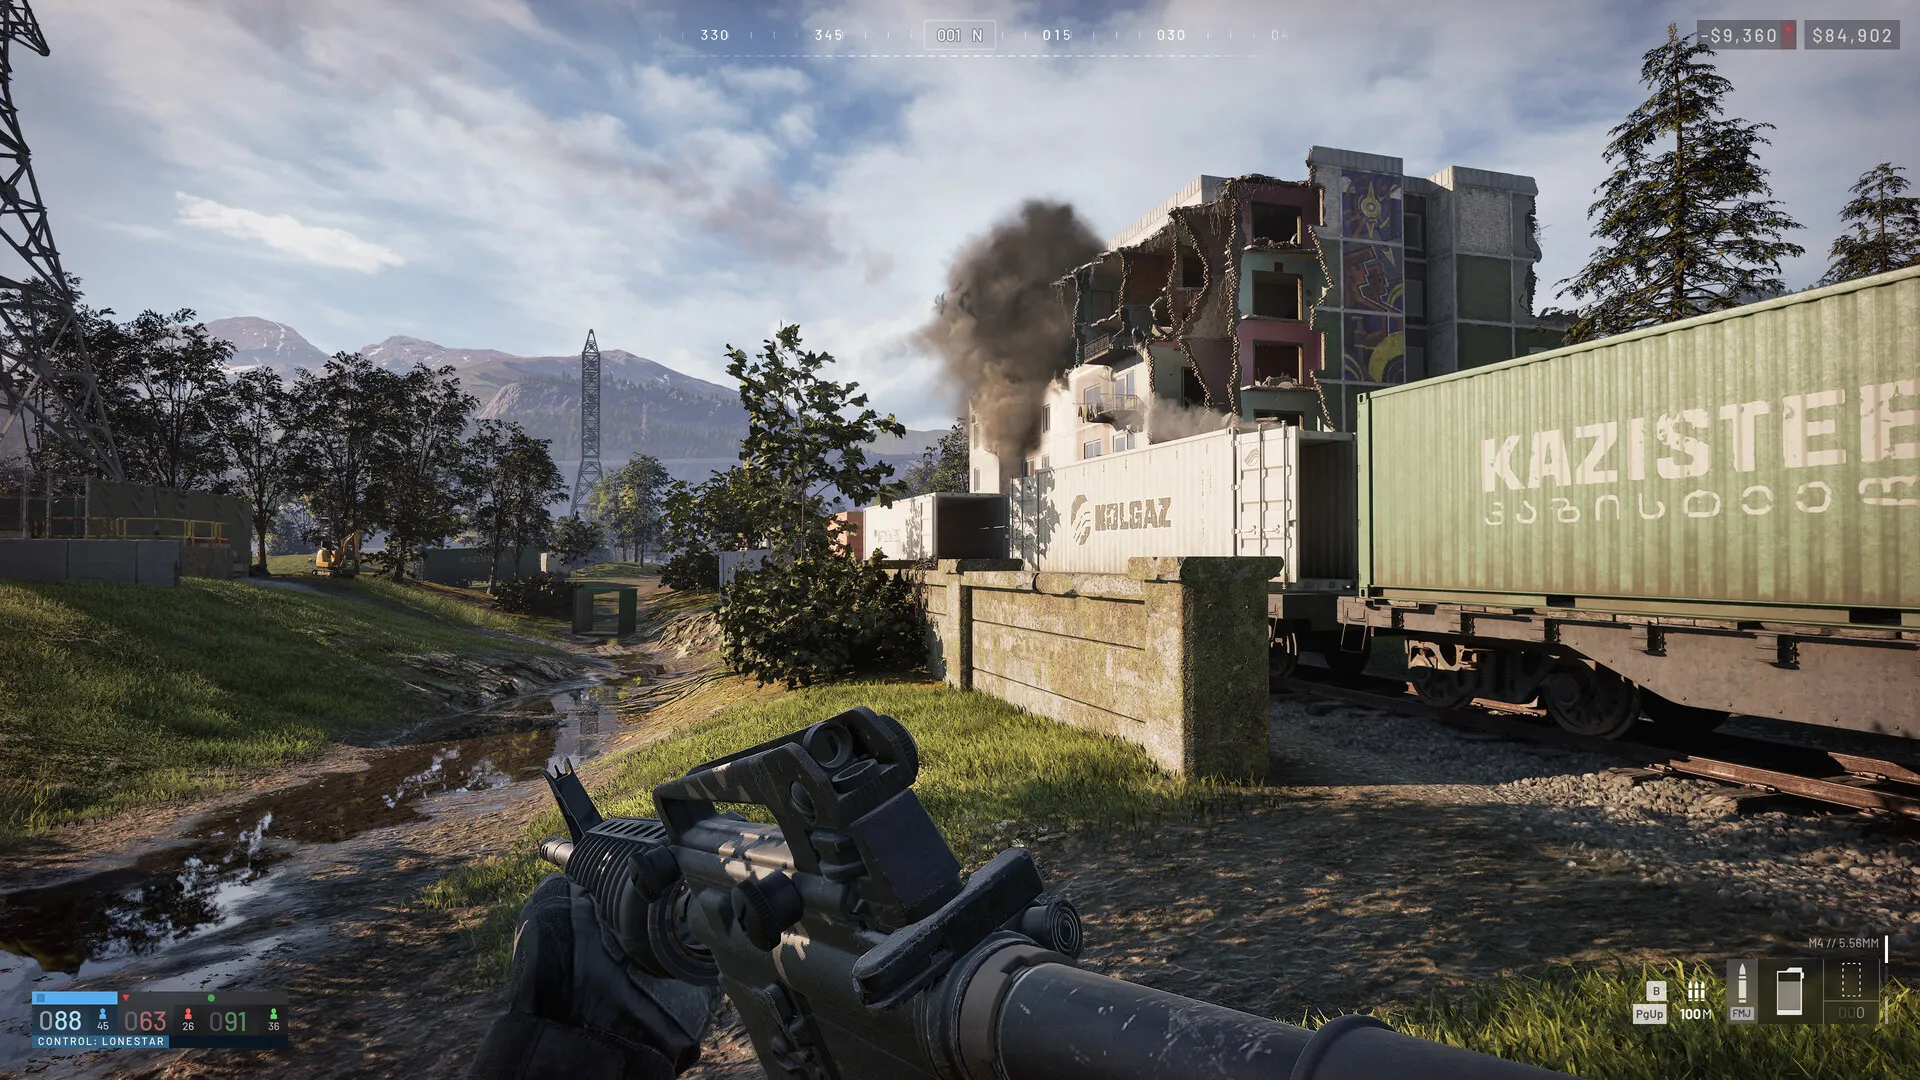
Economy
WARDOGS How to Make Money Fast — Practical Cash Strategy
Stretch the $10,000 further — the income levers, ranked by impact.
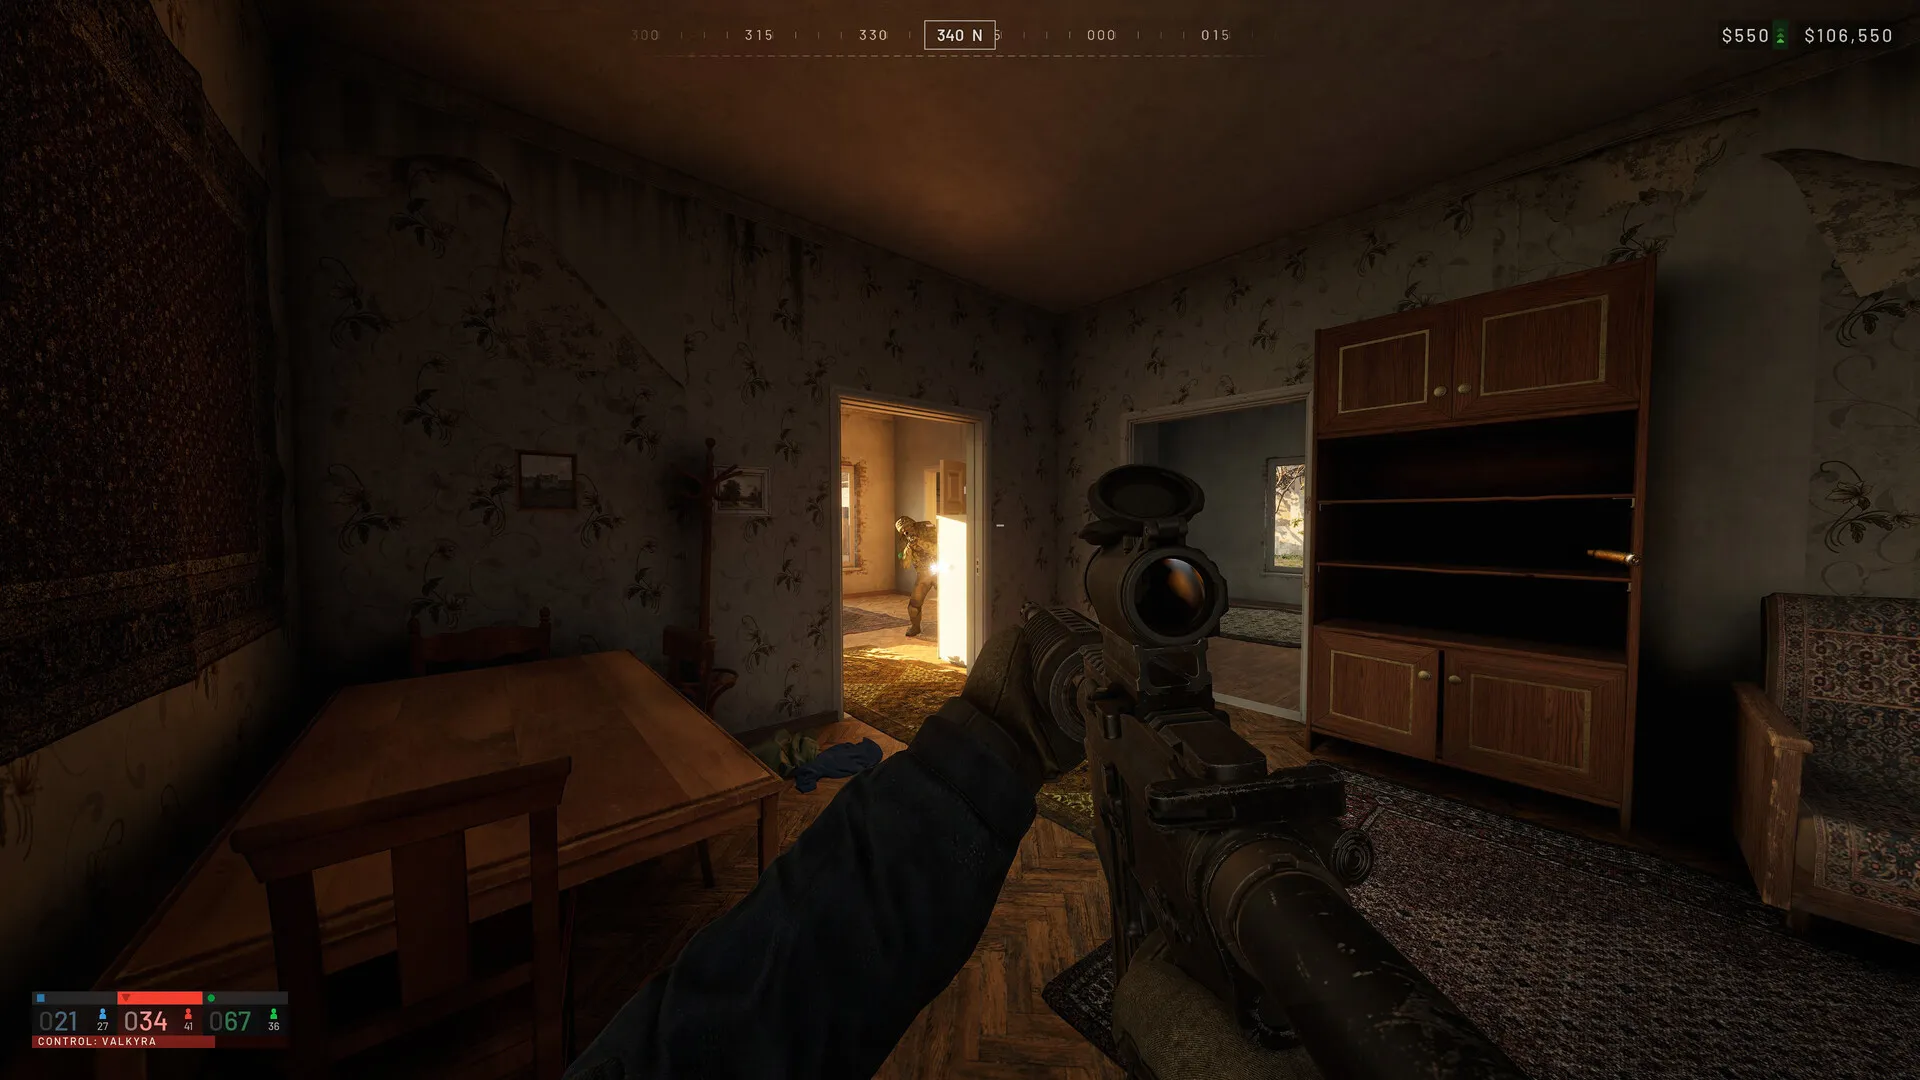
Guides
WARDOGS Control Zone, Hot Zone, and Towers — Map Mechanics Explained
Where match points actually come from, zone by zone.
Guides
WARDOGS Kolchia Map Guide — 256 km², Zone Randomization, and Tactics
Learn the ground: Kolchia's layout and zone randomization.
Weapons
WARDOGS Weapons List — Every Weapon by Class and Unlock
What to buy once the wallet allows it — all 37 weapons priced.
Was this helpful?
Thanks for the feedback!