WARDOGS Mortar Guide — How to Build and Fire the Support Mortar
Building the WARDOGS mortar: the Large Hammer and Support level 8 gate, supplies and ammo, and the heading-plus-range aiming system.
FAQ
How do you build a mortar in WARDOGS?
How do you aim the WARDOGS mortar?
How do you keep a mortar supplied?
What is the mortar best at?
How solid are these facts?
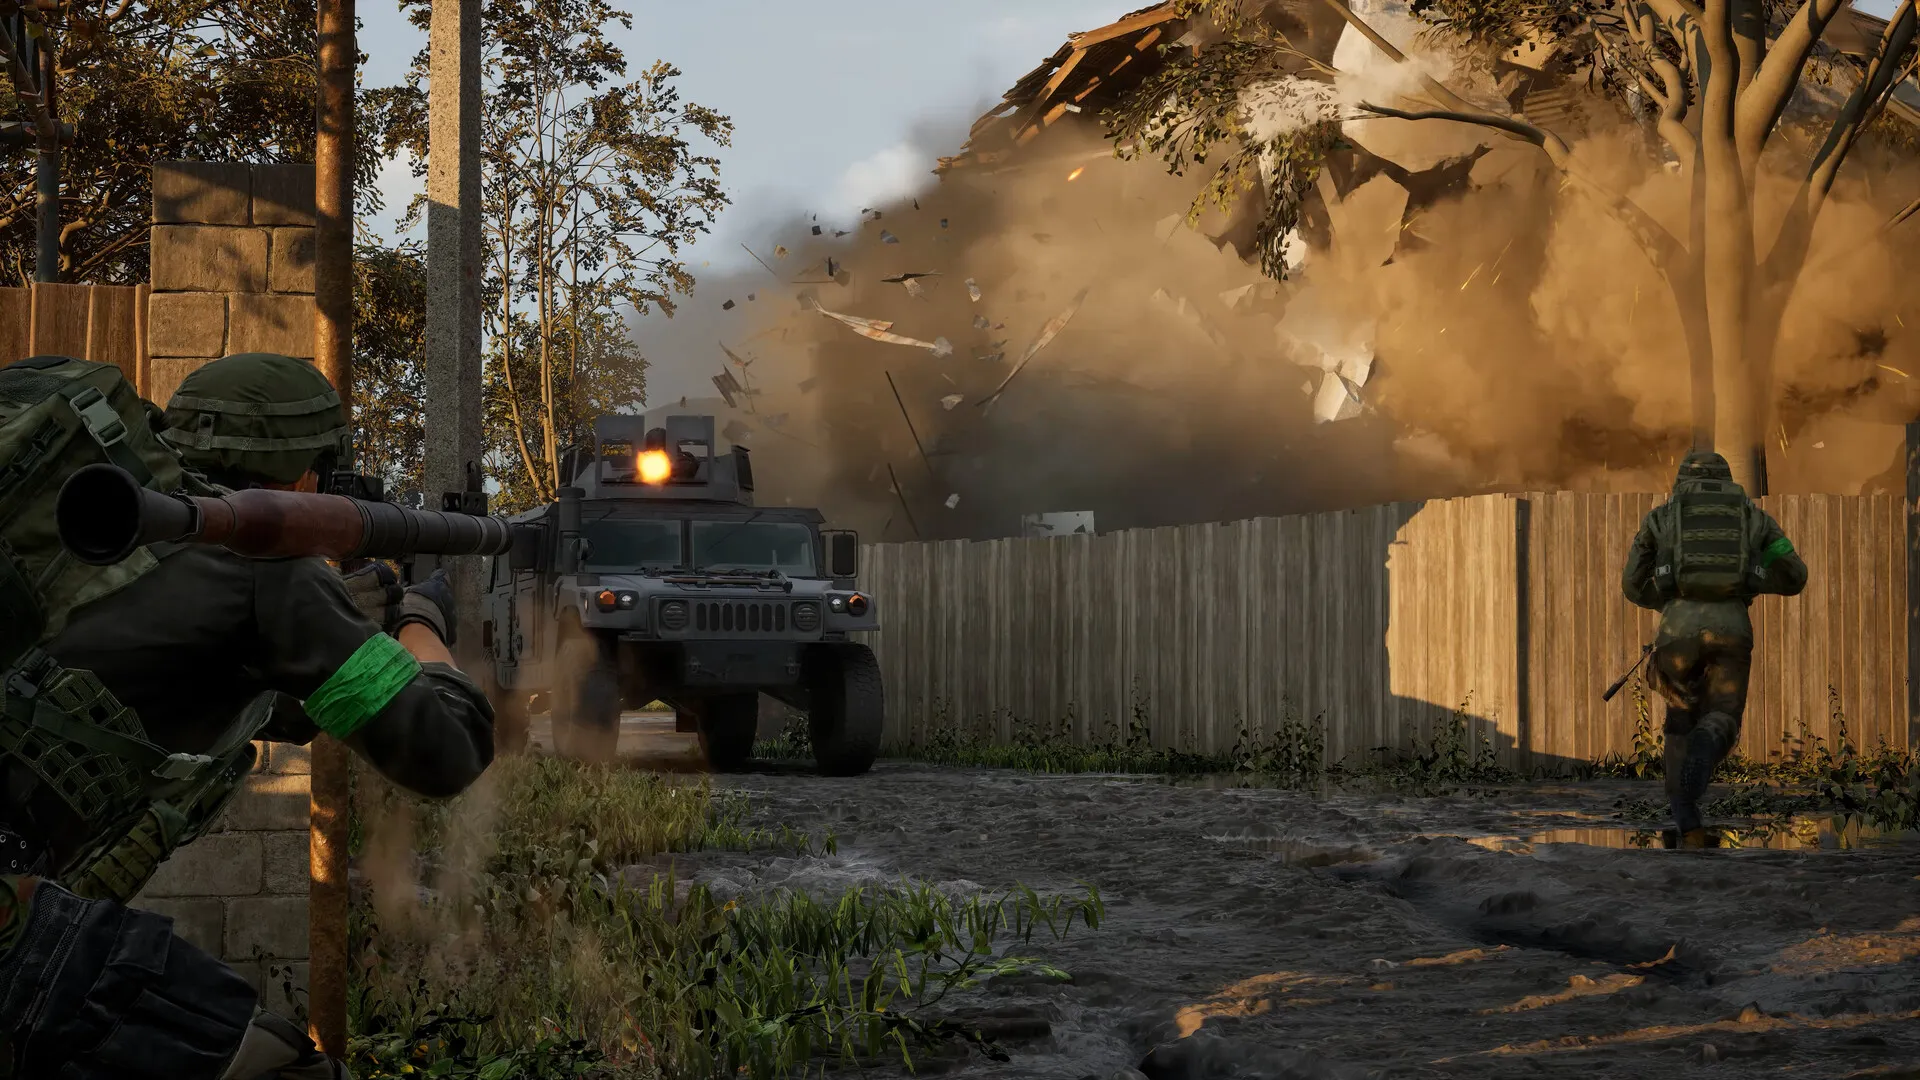
What is the mortar in WARDOGS?
A crew-served, player-built indirect fire weapon — the support player’s answer to enemies you cannot reach with a rifle. In the game’s own data it is the L81 mortar, a high-arc-only piece reaching about 685 metres, per wardogshub.gg’s community artillery project. Instead of winning a shootout, you set a heading and a range, loft shells over cover, and let the squad forward observer do the spotting. Everything about it is slow on purpose: slow to build, slow to reposition, brutal when it lands. It is the textbook tool for breaking a stalemate at a fortified position, most famously the sniper nests on the towers.
What do you need before you can build one?
Three gates, all of them real:
- The Large Hammer. The mortar is a top-tier construction, and constructions are gated by hammer tier. The Large Hammer is the highest one — no higher tier exists above it.
- Support track level 8. The top hammer tier unlocks at level 8 on the Support track. Below that, the mortar simply is not available to you.
- Supplies and cash. Building materials are bought at the spawn base and either carried on your person or stored at a FOB. No component prices have been published anywhere — budget flexibly, and remember everything you spend is exposed to the 10% death tax.
The source guide’s honest advice: secure a FOB first, then go on offense. A mortar built in the open dies in the open.
How do you keep it firing?
A built mortar is only half the weapon — the other half is the supply line. Shells come from the same spawn-base vendor as the building supplies, at unstated prices, and someone has to move them to the tube. Two ways to keep the belt full:
- Haul by hand. Buy shells, carry them out, reload. Simple, slow, and it takes you off the gun.
- Pilot air-drops. A teammate flying the vehicle roster can deliver ammo drops to your position — the fast loop, and a reason to run mortar duty with a pilot in the squad.
How do you aim the thing?
The aiming model has two dials and no safety net:
- Heading — the direction the tube points.
- Range — how far the shell flies.
There is no map overlay while aiming. The workflow that works: open the map before you sit down, mark where the enemy is, estimate the distance, then set heading and range from those numbers. Once firing, WASD adjusts the aim coarsely and the mouse trims it — and the camera rides the shell for its entire flight, showing you exactly where it lands so the next volley corrects. That first shot is always a guess; the second is data.
What is it actually good at?
Two jobs, both about removing enemies you cannot out-shoot:
- Close fire support. Shelling a position your teammates are about to push — the enemy either leaves or dies inside it.
- Counter-sniping the towers. Snipers camp the tower catwalks precisely because rifles can’t reach them; a mortar doesn’t care. Walk shells onto the platform and the nest is gone — see the tower capture guide for why that matters beyond the kill.
What gets mortar players killed?
Exposure. You are locked into the aiming interface — heading, range, shell-cam — while enemies keep their rifles. A sniper with line of sight on your position will happily trade your exposure for your life. Site the mortar behind cover, keep the FOB between you and the open, and never set up twice from the same spot after the first volley lands: the shell-cam that corrects your aim also tells every survivor exactly where the tube is.
Where do these facts come from?
Two layers. PCGamesN’s “How to build a Wardogs mortar” (Paul Kelly, September 11, 2026) documents the build gate, supply loop, and aiming model on the live build — currently the only detailed published walkthrough. wardogshub.gg’s artillery calculator independently corroborates the piece itself: the L81, its ~685 m high-arc reach, its 50-MOA spread, and the azimuth-plus-range dial model (data as of Season 1, September 10; trajectories community-calibrated). The hammer-tier gate remains single-source (PCGamesN). Nothing here is officially documented by BULKHEAD yet — when it is, this section collapses into a citation.
Keep reading
Guides
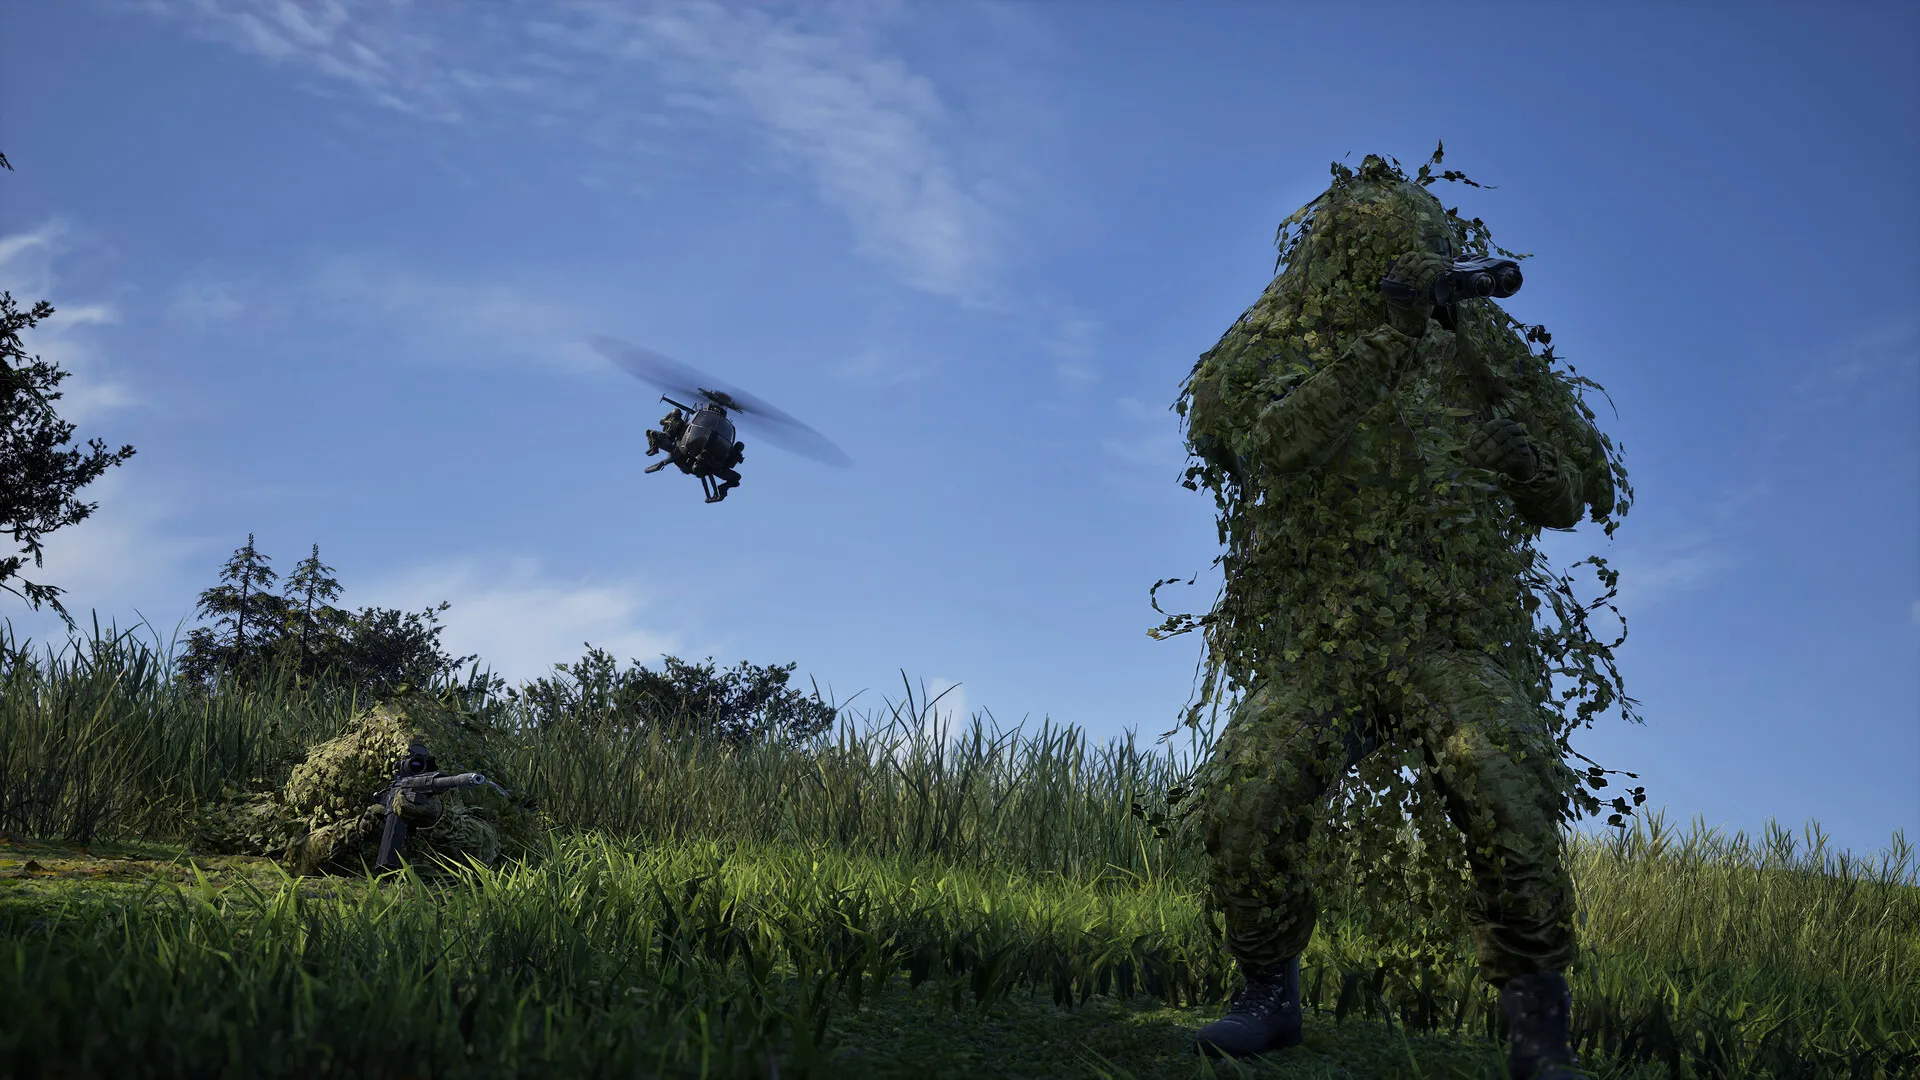
WARDOGS Tower Capture Guide — Codes, Cooldowns, and the Hot Zone Magnet
The mortar's signature job — shelling snipers off the towers.
Guides
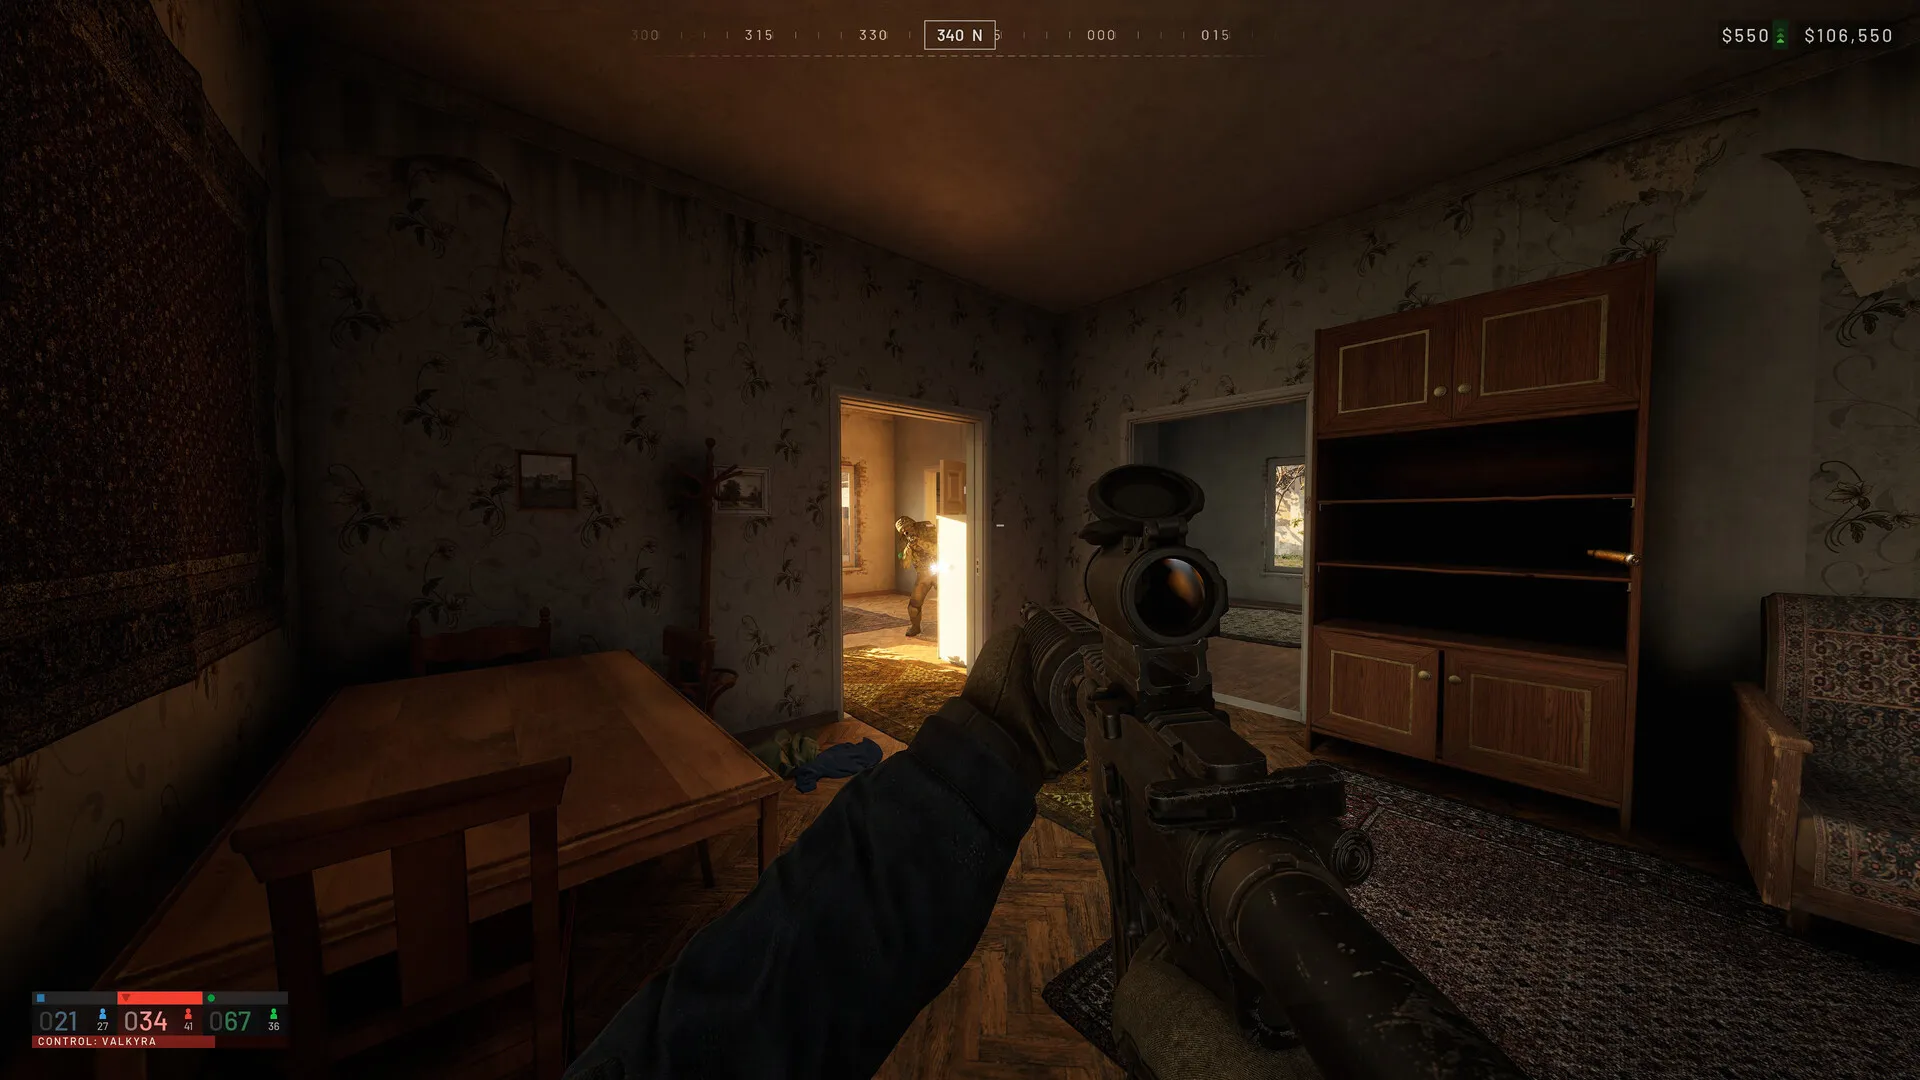
WARDOGS Control Zone, Hot Zone, and Towers — Map Mechanics Explained
The zone loop your fire support is fighting inside.
Guides
WARDOGS XP Tracks and Unlocks — How Progression Actually Works
The track levels that gate the top-tier hammer.
Economy
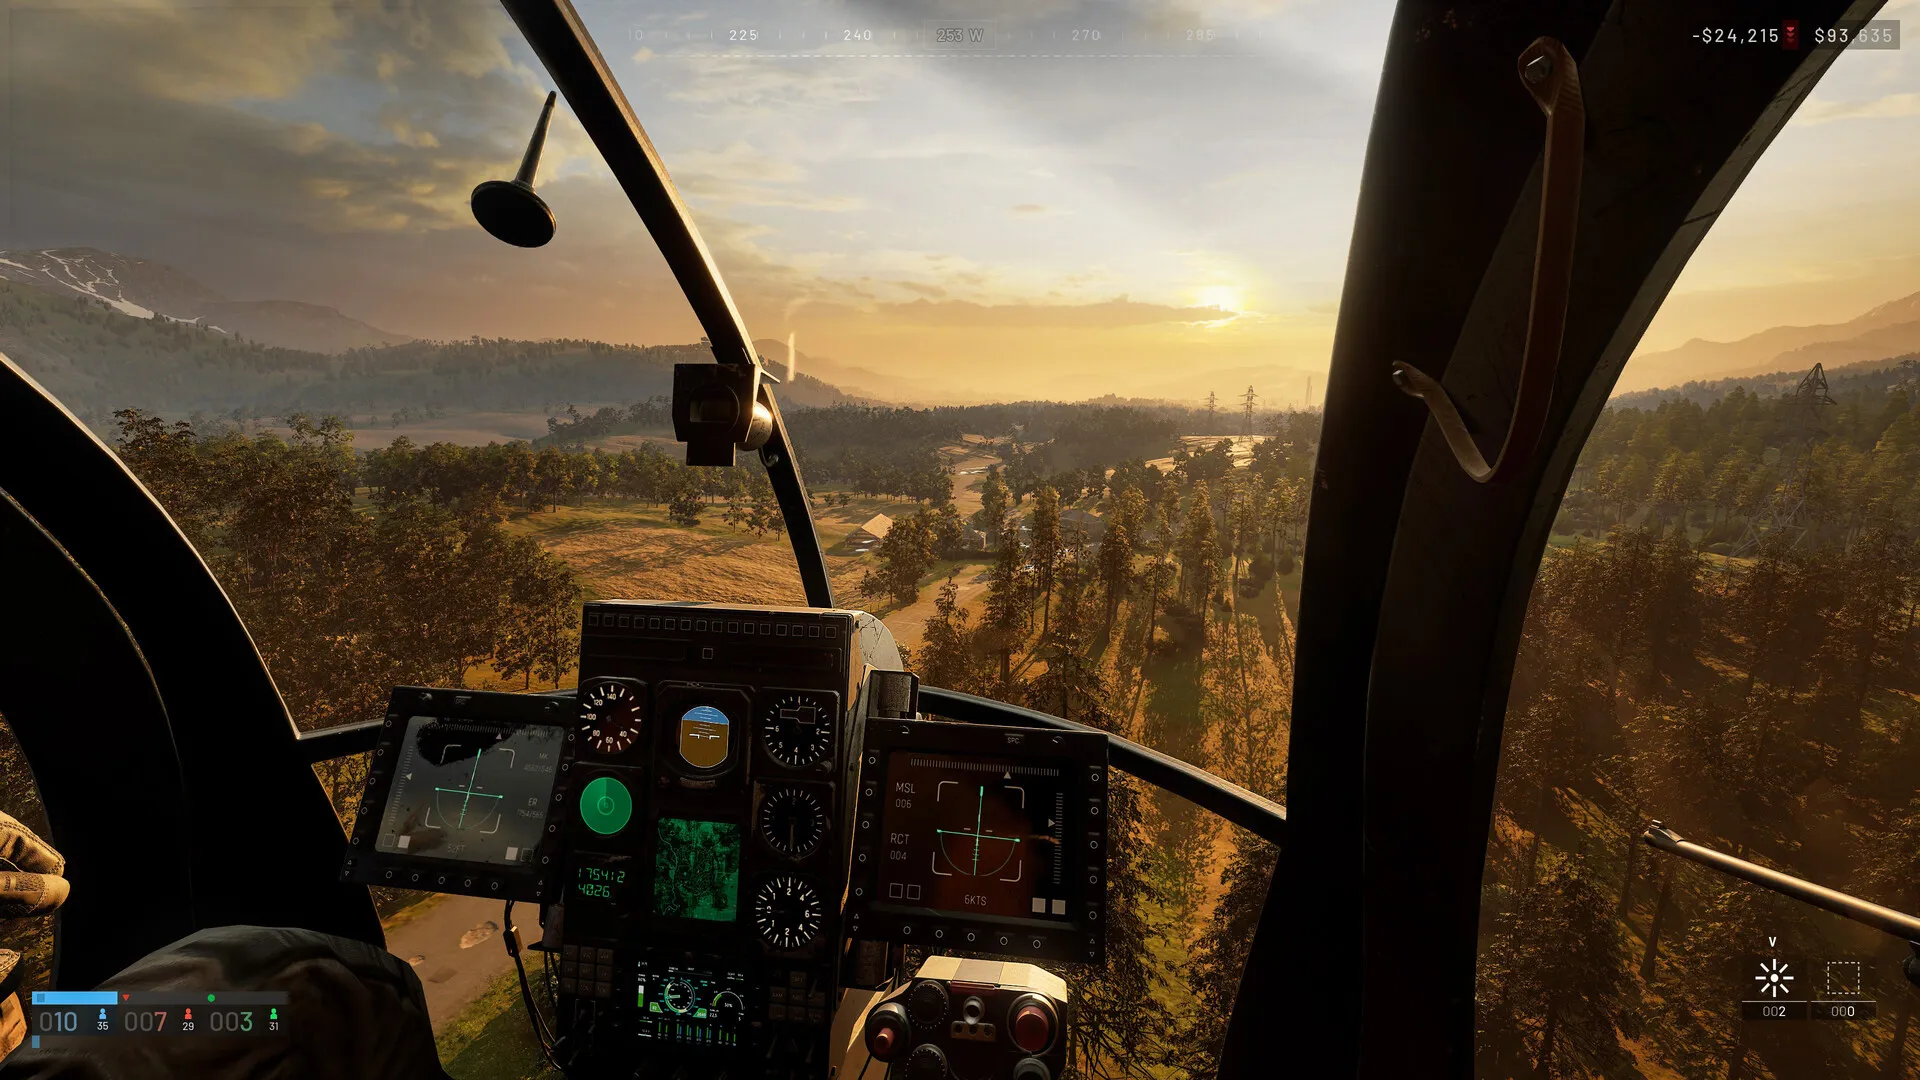
WARDOGS Money Guide — How the Persistent Cash Economy Works
What supplies and shells cost your wallet — and the 10% death tax on them.
Was this helpful?
Thanks for the feedback!