WARDOGS Kolchia Map Guide — 256 km², Zone Randomization, and Tactics
Two 256 km² maps ship at Early Access — Bakurani in Kolchia, and Ozeti. Map roster, named locations, and how the randomized Control Zone layers shape play.
FAQ
Does WARDOGS have fixed control points on the map?
How big is the WARDOGS map?
How many maps does WARDOGS have at launch?
What are the named locations on the maps?
What is the Hot Zone on the map?
Where can I see a full annotated map with named locations?
Is there a fixed map of control points?
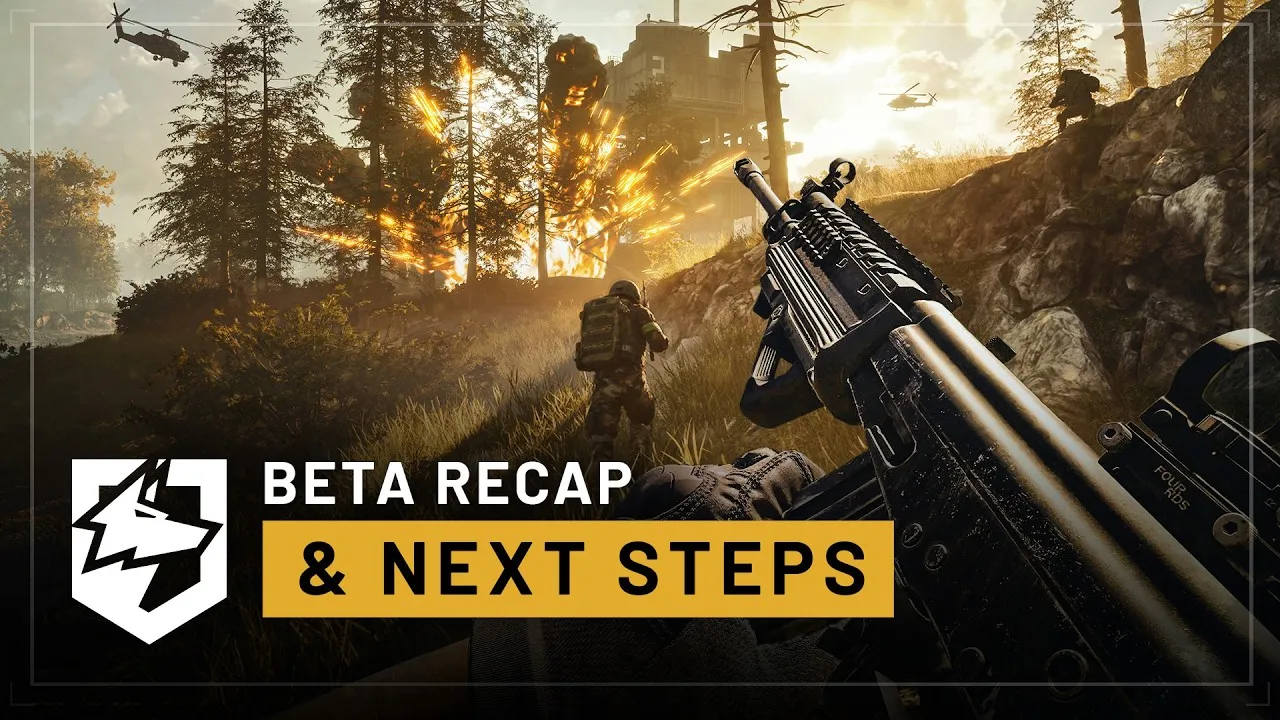
No — and understanding this is the single biggest map-side adjustment for players coming from Battlefield-style shooters. Kolchia has no fixed capture-point layout. At the start of every match, a randomized 2×2 km Control Zone is drawn somewhere within the 256 km² region, its outline appears on your map screen, and the entire match collapses onto it: the faction with the most players inside banks points, first to 100 wins. The scoring loop itself is covered in the Control Zone, Hot Zone, and Towers guide; this page is about the ground it plays out on.
You cannot study a point layout the night before and execute it the next day. What you can study is the layer underneath — terrain, travel, and the three-faction geometry — and that layer is what actually separates organized squads from tourists.

WARDOGS — official beta recap: zone play across the map
How big is Kolchia, really?
Every map measures 256 km² — a 16×16 km square — and every match drops 100 players into one, roughly 33 per faction. Two numbers give the scale meaning:
- The Control Zone is 2×2 km = 4 km², about 1.6% of the map. Before the zone is announced, the map is nearly empty relative to the player count; after it is announced, one-sixtieth of the territory holds essentially the entire match.
- Distance is measured in vehicles, not footsteps. With the zone potentially drawn far from your spawn, insertion time is a real cost — which is why the cheapest useful vehicles in the vehicles guide are ground transports, and why a squad that flies in a helicopter arrives rested while a squad that walks arrives late and already poor from a wasted life.
Which maps does the game actually ship?
The launch-day answer, mapped by the community from the game files and the server browser (wardogshub.gg/map — official material still says only “multiple large maps”):
| Map | Setting | Status | What’s on it |
|---|---|---|---|
| Bakurani | The Kolchia region’s river valley — derelict industry in Eastern European mountains | Playable since the alpha | Factory district, riverline, 7 counting towers (+ 4 abandoned), Sunflower Church, the Lumberyard, ~60 datamined place names on the valley floor |
| Ozeti | Western Europe (the files call the layout “Madrid”) | Playable since the September 3 closed beta | Hill town, walled stadium, church, apartment blocks, large bridges, 4 towers |
| Zestafona | North American theatre | In the files, not playable yet | Towers 1–3 datamined; its water towers are landmarks, not objectives |
Kolchia itself is the setting — the region the three factions fight over — not the name of every map. Bakurani is the valley inside it; Ozeti and Zestafona open the war to other theatres.
What is actually fixed on the map?
Three things survive match-to-match:
- The terrain. Kolchia’s rivers, ridgelines, forests, and settlements are constant across matches — official screenshots and trailers show riverlines, container yards, and village streets. What changes is which patch of that terrain the zone lands on, not the terrain itself. A river crossing that was the whole match last game can be irrelevant backfield this game.
- The FOB layer, which players build. Forward Operating Bases are fortifiable positions squads construct during a match to lock down routes into the zone. They are the only “fixed points” in the game — and they are player-made, which means every one of them can be destroyed. Nothing you build is permanent, and no position is ever truly safe.
- The Hot Zone’s rules, not its position. The Hot Zone shifts during a match inside the Control Zone, and your HUD shows live distance to it. The double-capture-weight, double-cash rules are constant; the ground they apply to is not.
How do you play a map you cannot memorize?
You play the layers that do not randomize:
- Read the outline first. The moment the match starts, the zone outline on the map screen is worth more than any loadout choice. The terrain between you and that outline decides whether you drive, fly, or walk — and whether you approach along a ridge or across a riverline.
- Respect the three-faction geometry. With three sides, attacking one enemy always exposes your flank to the third. A zone edge held by two factions is a knife fight waiting for the third to harvest; a smart squad lets enemies grind each other on one edge while it banks presence on the quiet side.
- Treat insertion as economics. Every life is bought from your persistent wallet, so dying during insertion is the most expensive way to arrive. The making money guide frames the whole loop — spawn, travel with the faction push, hold presence, revive, repeat — and the math rewards squads that arrive together over loners who arrive fast.
- Anchor on FOBs, do not marry them. A well-placed FOB with a resupply loop is the closest the game gets to a static front line — reinforce existing ones before founding your own, and abandon them the moment the fight moves. The beginner’s guide covers the wallet math of building versus reinforcing.
What about Towers?
Towers are the map’s fixed objectives — and the community has now documented how they work from the betas: each captured tower reveals one digit of a four-digit code, and entering the complete code at your faction’s terminal pulls the Hot Zone toward a tower you hold. Seven counting towers sit on Bakurani, four on Ozeti (datamined counts). Bulkhead has never published the mechanic officially — the full beta-reported capture flow, and the caveats, are on the Control Zone and Towers page.
What did launch actually answer?
The launch build answered the questions this page deliberately left open. Map count: two playable 256 km² maps at launch — Bakurani and Ozeti — with Zestafona sitting in the files for later. Named locations: the map files carry roughly 60 place names on Bakurani’s valley floor alone; the first to matter are Sunflower Church (very likely the church whose roof exploit was fixed in the Season 1 changelog) and the Lumberyard, alongside the numbered towers. Rotation: the server browser names each server’s map, so both are directly playable — how quick-play matchmaking picks between them is still community-unverified.
Until we can capture the map screen in-game ourselves, the community interactive maps are the honest best source — wardogshub.gg/map at one metre per pixel. This page keeps its own promise differently than planned: the named-locations section above is the text version, and an annotated map of our own follows once captures exist. The gameplay overview puts the maps in the context of the full match loop.
Keep reading
Guides
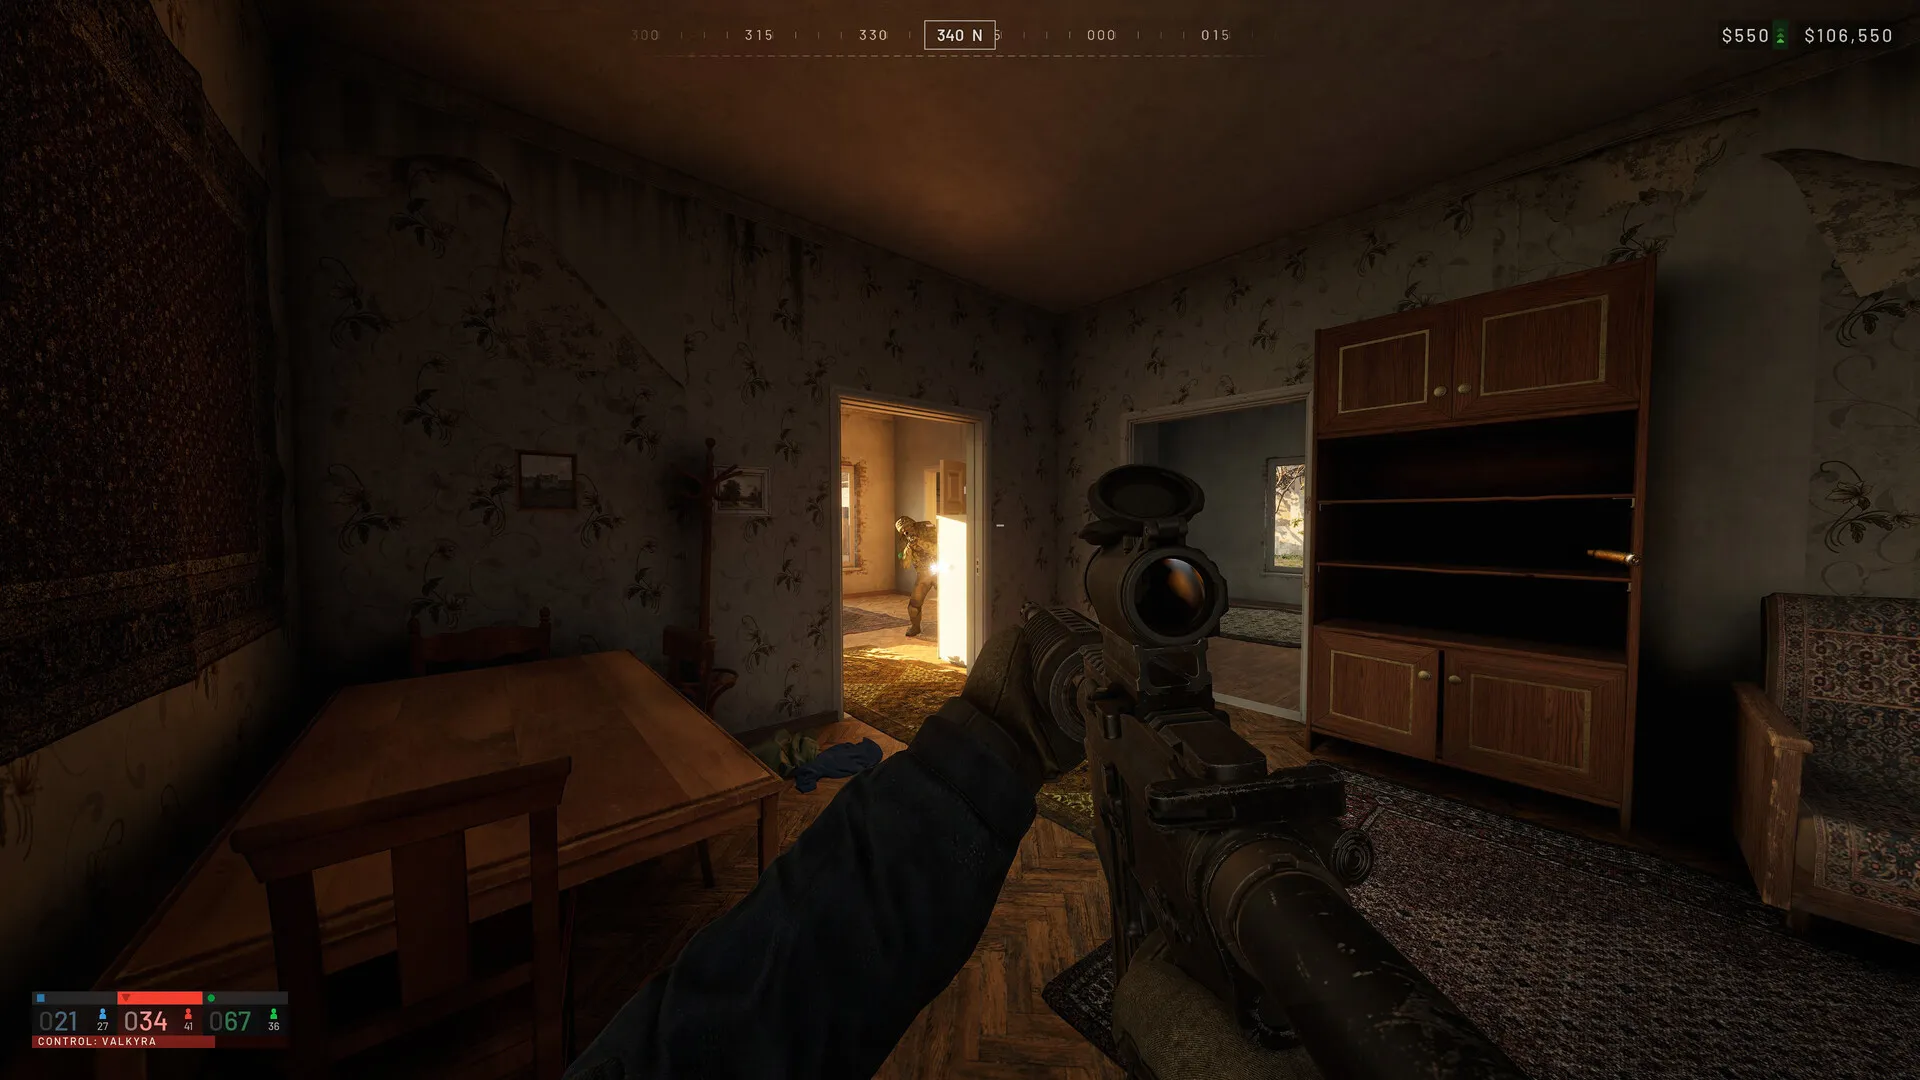
WARDOGS Control Zone, Hot Zone, and Towers — Map Mechanics Explained
The objective layer on top of this terrain — zone, Hot Zone, Towers.
Vehicles
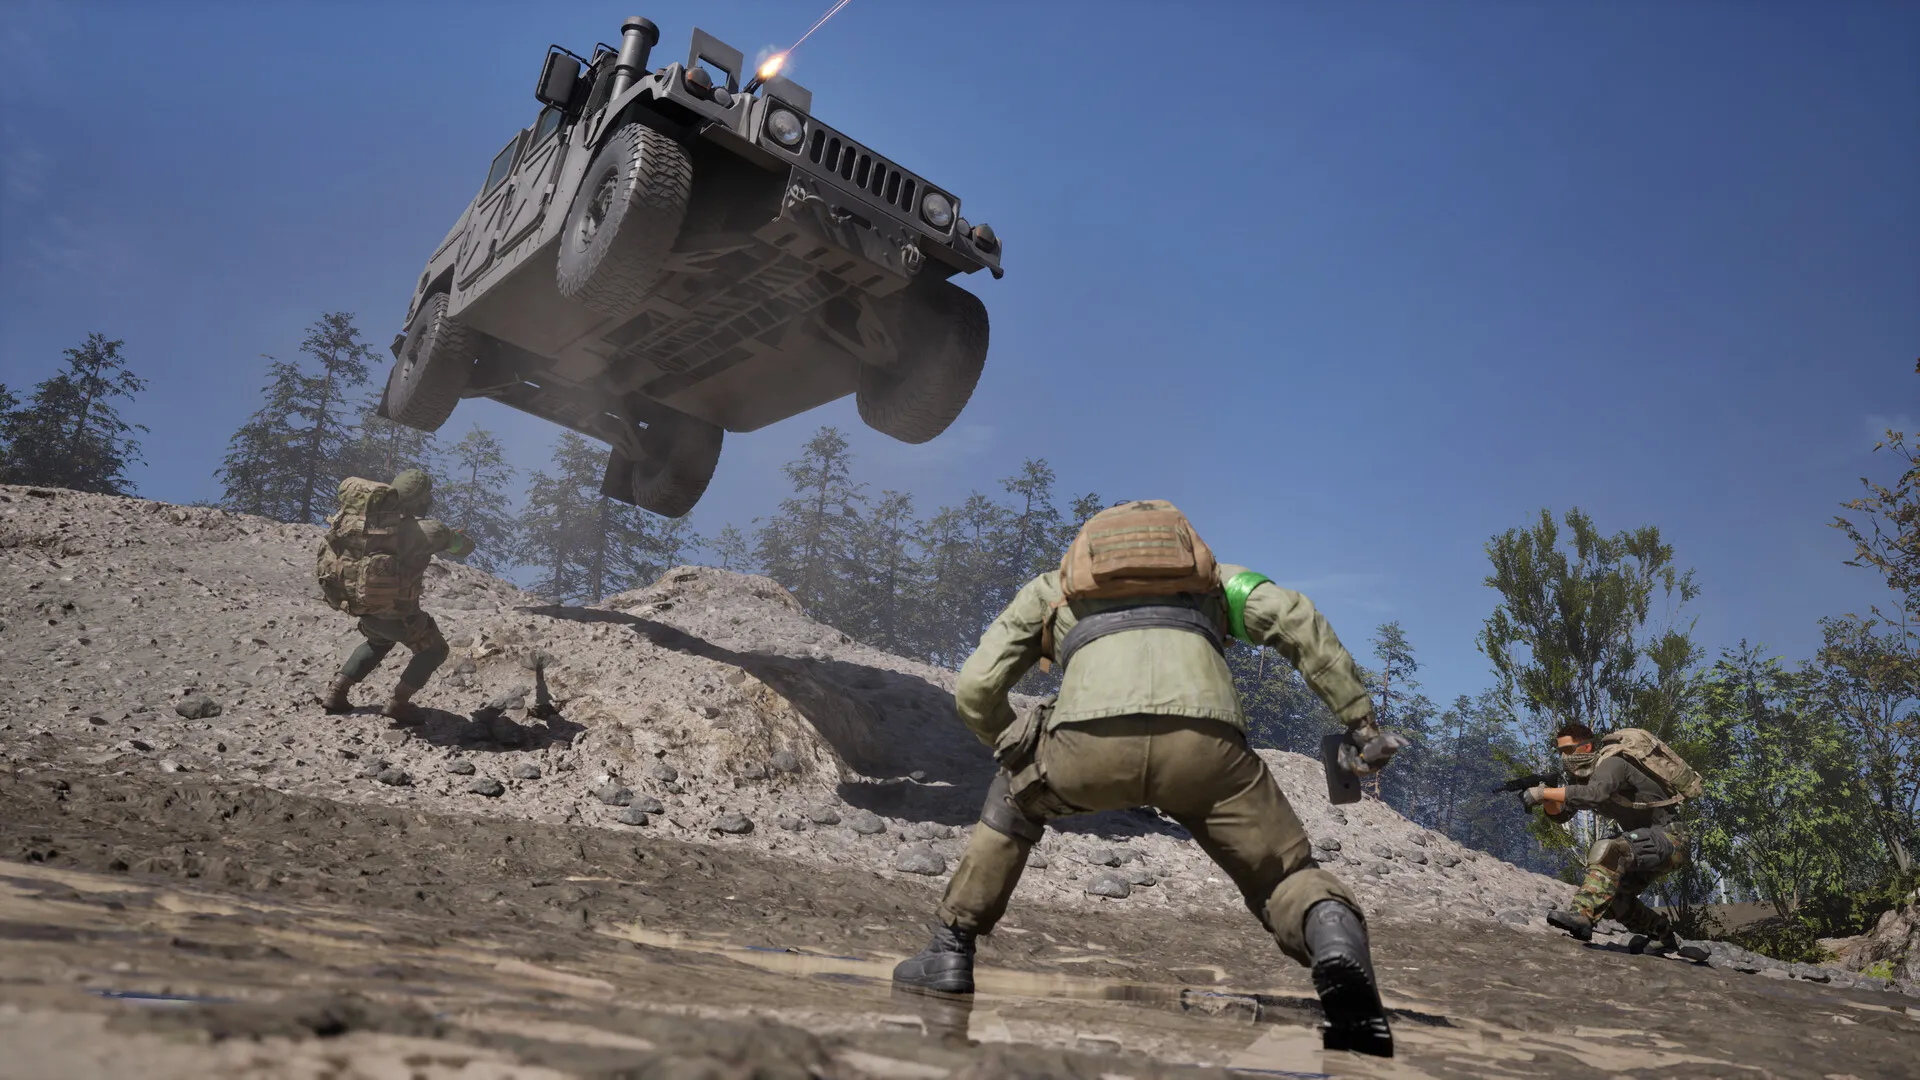
WARDOGS Vehicles Guide — Helicopters, Tanks, and Transports
256 km² is measured in rotor hours — the full vehicle roster.
Guides
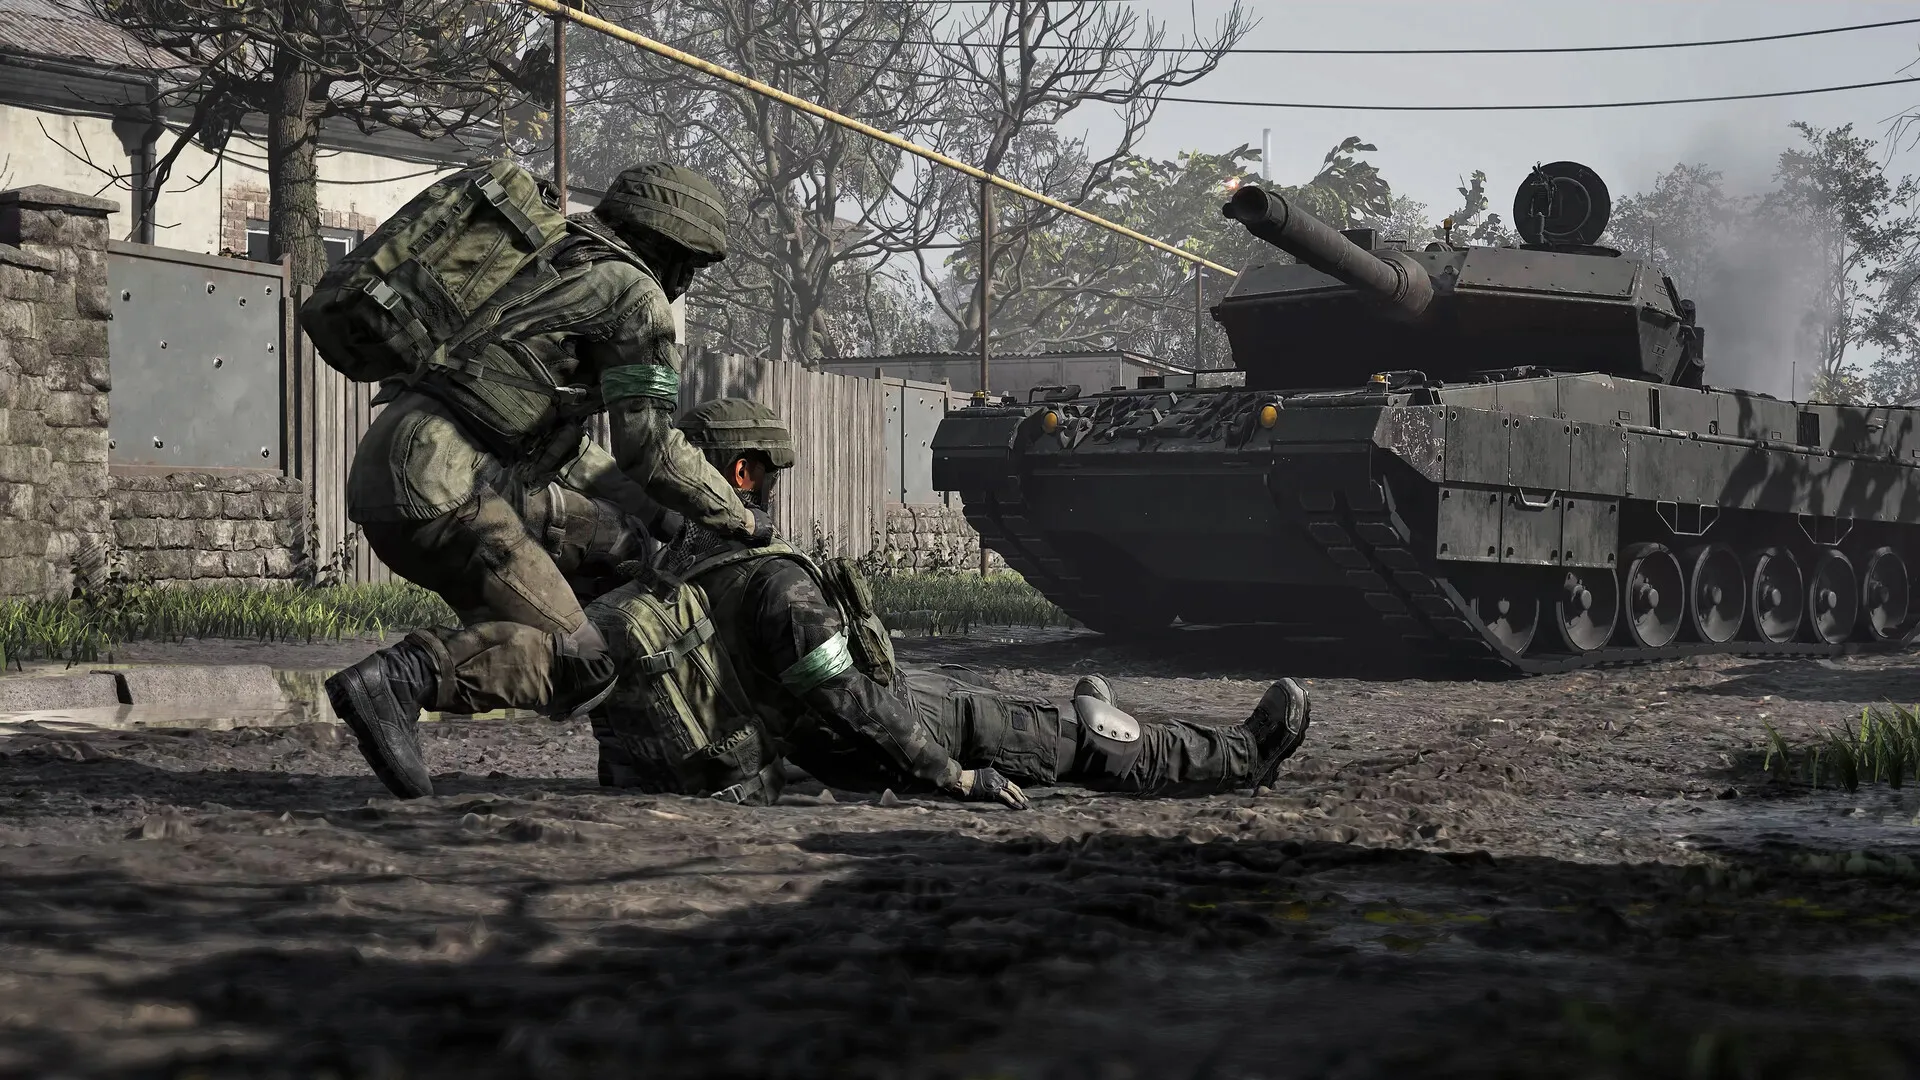
WARDOGS Beginner's Guide — Surviving Your First Matches
First-match basics: FOBs, revives, and the wallet math.
Guides
WARDOGS Player Count — Live Numbers, All-Time Peak, and Copies Sold
How many people play WARDOGS? The live Steam count, the 428,666 all-time peak, 1.5 million copies sold, and every milestone since the September 10 launch.
Was this helpful?
Thanks for the feedback!