WARDOGS Control Zone, Hot Zone, and Towers — Map Mechanics Explained
How the WARDOGS Control Zone scores points, what the Hot Zone actually does, and the Towers mechanic in the 100-player three-faction king-of-the-hill mode.
FAQ
How does a WARDOGS match actually end?
What is the Hot Zone in WARDOGS?
Are there Towers in WARDOGS?
Where is the Control Zone on the map?
Can kills win a WARDOGS match on their own?
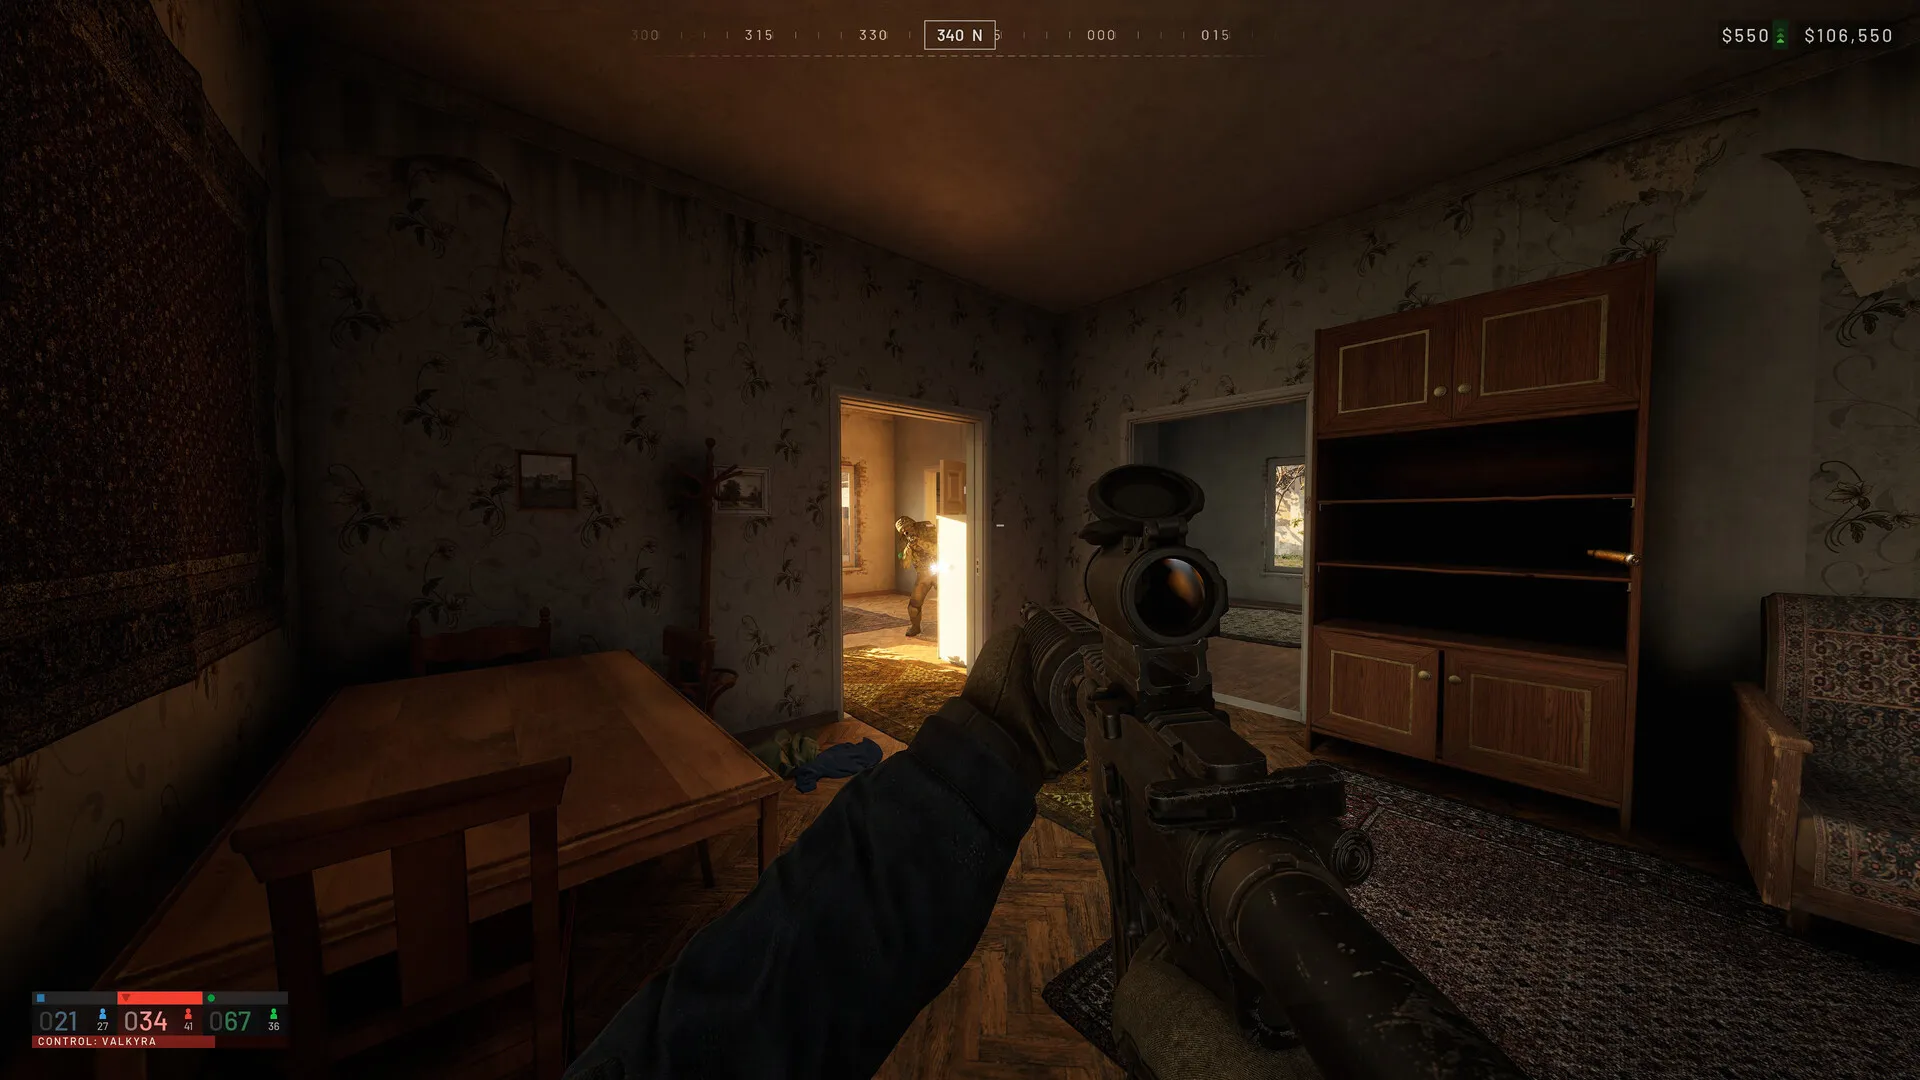
What is the Control Zone?
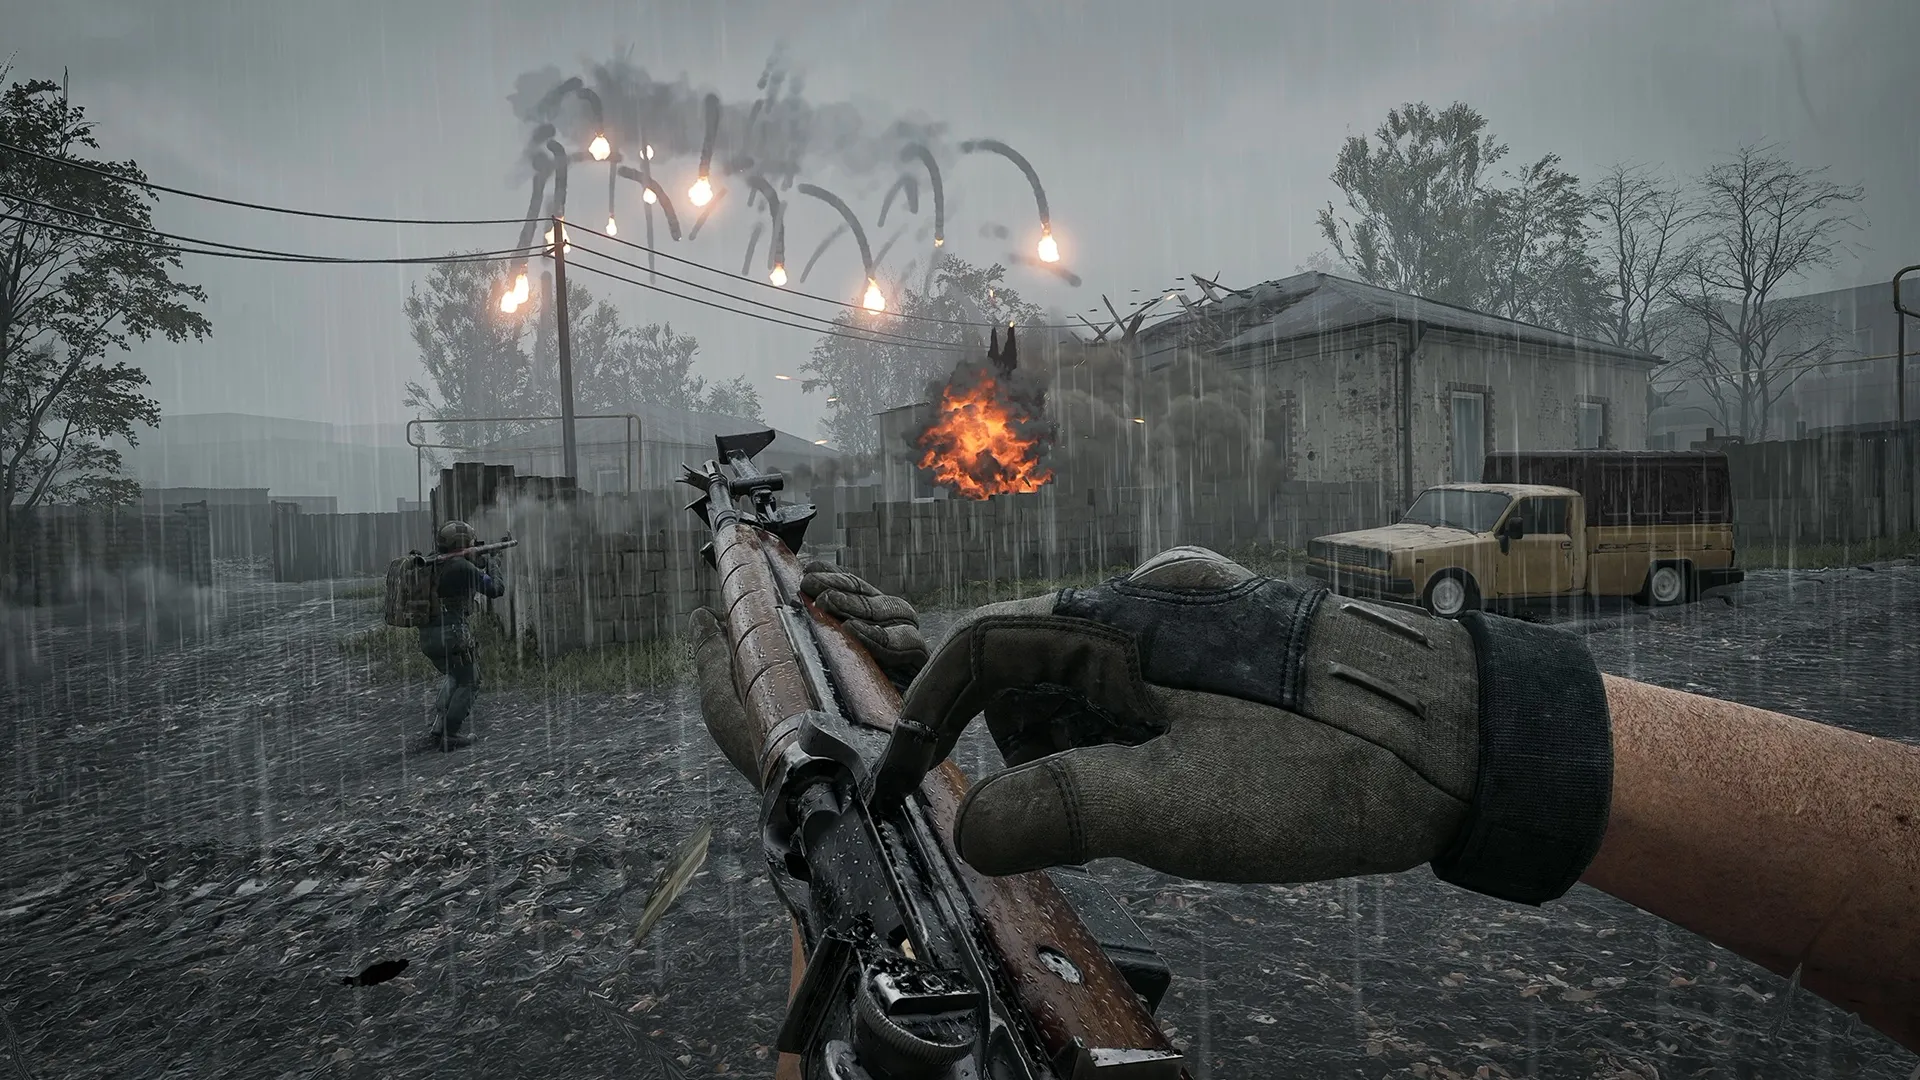
Every WARDOGS match is a 100-player, three-faction fight for a single objective: a randomized 2×2 km Control Zone drawn from a much larger 256 km² map. The faction with the most players inside the zone banks points, and the first to 100 wins. That is the entire scoring loop. Kills matter only to the extent that they remove enemy bodies from the zone — kill count itself never appears on the scoreboard as a tiebreaker. For the big-picture view, the gameplay overview walks through how the zone fits into the broader loop.
How does the Control Zone actually score?
Presence is the currency, not kills. The system reads the live player count from each faction inside the zone outline and awards points to the faction that is winning that count, continuously, for as long as it stays ahead. Two practical consequences:
- A large faction blob inside the zone beats a small elite group — pushing numbers in is more valuable than pushing kills in.
- Dieing inside the zone is doubly expensive — you lose a presence unit and you take the 10% gear refund tax described in the money guide.
That is the entire scoring engine. Everything else — vehicles, FOBs, launchers, the Hot Zone — exists either to shift the player count or to deny the enemy the ability to do the same.

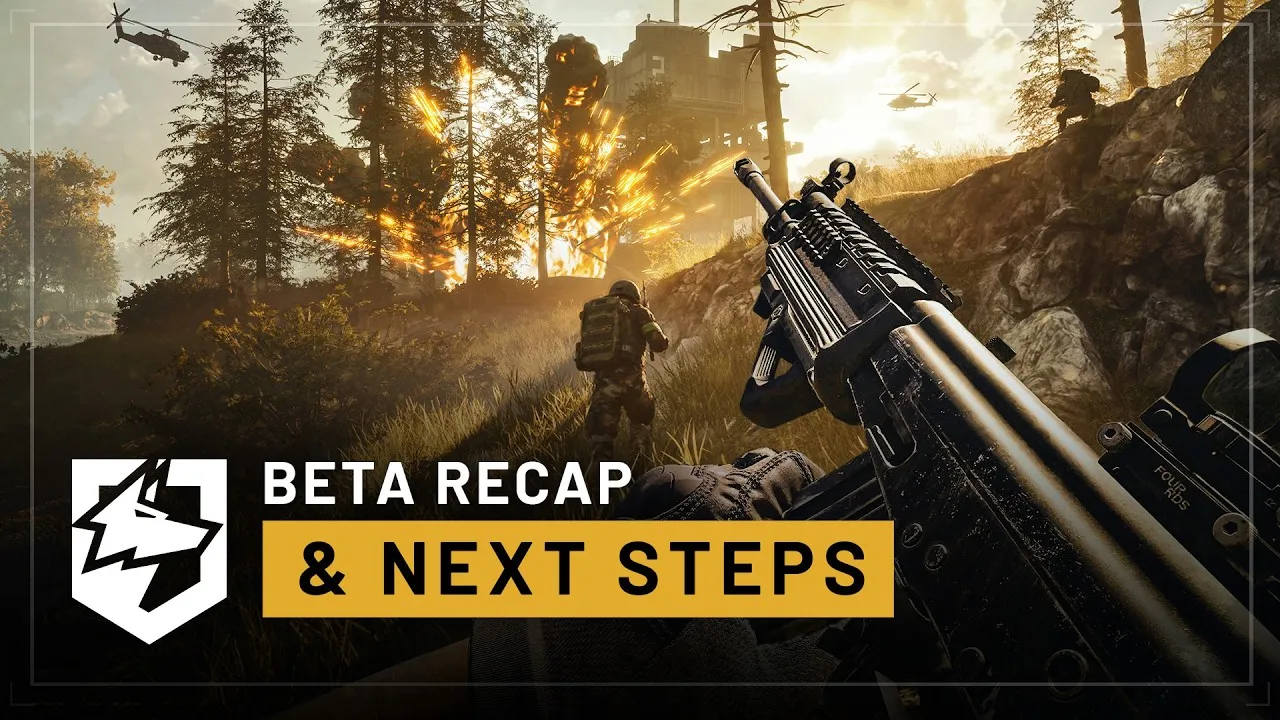
WARDOGS — official beta recap: the zone loop in live play
What is the Hot Zone?
That single sentence is the cleanest description of the mechanic published so far. The unpacking:
- Where it sits: inside the larger Control Zone, never outside it. Controlling the zone does not mean controlling the Hot Zone.
- How it moves: it shifts during a match, and the HUD shows your live distance to it so you always know which way the scoreboard gravity is drifting.
- What it does for you: doubles your capture weight (so two of you in the Hot Zone count as four against the scoreboard) and doubles the cash you earn from presence and teamplay actions inside it.
The Hot Zone is the reason a coordinated squad of four can swing a losing match: four bodies inside the Hot Zone are worth eight on the scoreboard, and the cash they earn compounds on itself. Squadless solo play in the Hot Zone still works, but a coordinated push compounds geometrically. The beginner’s guide explains why new players should reach the Hot Zone attached to teammates rather than solo.
What are Towers?
Towers are the third layer of map control — fixed structures on each map with a control panel, “the objective on top of the objective” in the community’s phrasing, because they are the one match element a team can deliberately steer. Two levels of sourcing, stated plainly: Bulkhead has never published the mechanic in an official post, but the intended design is covered in the studio’s own YouTube explainer, and player accounts from both beta weekends — collected by wardogshub.gg’s towers page — describe how it works in practice:
- Capturing. Clear the enemies off a tower (the panel does not respond while any opponent is inside), wait out a short post-clear lockout, then interact at the panel — a press, not a timed channel. One surviving enemy inside blocks the capture. Towers are retakeable the same way.
- The four-digit code. Each captured tower reveals one digit of a four-digit code. Enter the complete code at your faction’s terminal — the tower your base is built at — and the Hot Zone starts pulling toward a tower you hold, putting the double-points, double-cash ground where you have already fortified. The code is new every match; nothing carries over.
- Counterplay. The Hot Zone moves rather than jumps, so the other two factions get warning — expect the fight to follow it.
Tower locations and counts are datamined from the map files rather than confirmed: Bakurani carries seven counting towers (plus four abandoned ones that do not count), Ozeti four. Two honest caveats from the community record: the in-game tutorial skips Towers entirely (players regularly ask how they work), and the mechanic has an ongoing “rewards camping” debate after beta one, with no official response so far.
This page updates the moment Bulkhead publishes the mechanic officially — until then, treat the capture flow above as community-reported, not gospel. The full capture walkthrough — control room, cooldowns, the code, and the counterplay — now has its own page, the tower capture guide, corroborated by two post-launch sources.
How should you actually play the Control Zone?
The mechanic-level facts above imply the play pattern, but the cash-and-survival math behind each choice is large enough to deserve its own page — the making money guide walks through how to turn presence in the Control Zone into a growing wallet, and the beginner’s guide covers the loadout choices that keep you alive long enough to bank it.
What about FOBs and forward play?
Player-built FOBs — Forward Operating Bases — sit alongside the zones as a fourth lever. A FOB is a fortifiable position that a squad can hold for an extended stretch of a match, locking down a route into the Control Zone for as long as it stands. Because every construction has a matching destruction, FOBs are not permanent — but a well-placed one with a resupply loop is the closest the game gets to a static front line. As a new player, the safer pattern is reinforcing an existing FOB before founding your own; the beginner’s guide covers the wallet math.
Gallery
Keep reading
Guides
WARDOGS Kolchia Map Guide — 256 km², Zone Randomization, and Tactics
The ground all of this plays out on — terrain, travel, zone randomization.
Economy
WARDOGS How to Make Money Fast — Practical Cash Strategy
Every lever on this page pays cash — here's the playbook.
Guides
WARDOGS Beginner's Guide — Surviving Your First Matches
New here? First-match survival, from spawn to first re-entry.
Patch Notes
WARDOGS Season 2 Preview — Everything Announced for the October 15 Update
The Season 02 Preview (October 9, 2026) lists four weapons, the Molotov, four vehicles, three buildables, rain and the Wager Vendor — Season 2 lands October 15.
Was this helpful?
Thanks for the feedback!